Viewing entries in
Service

RESTORATION: 1989 Tesch S-22

RESTORATION: 1989 Tesch S-22

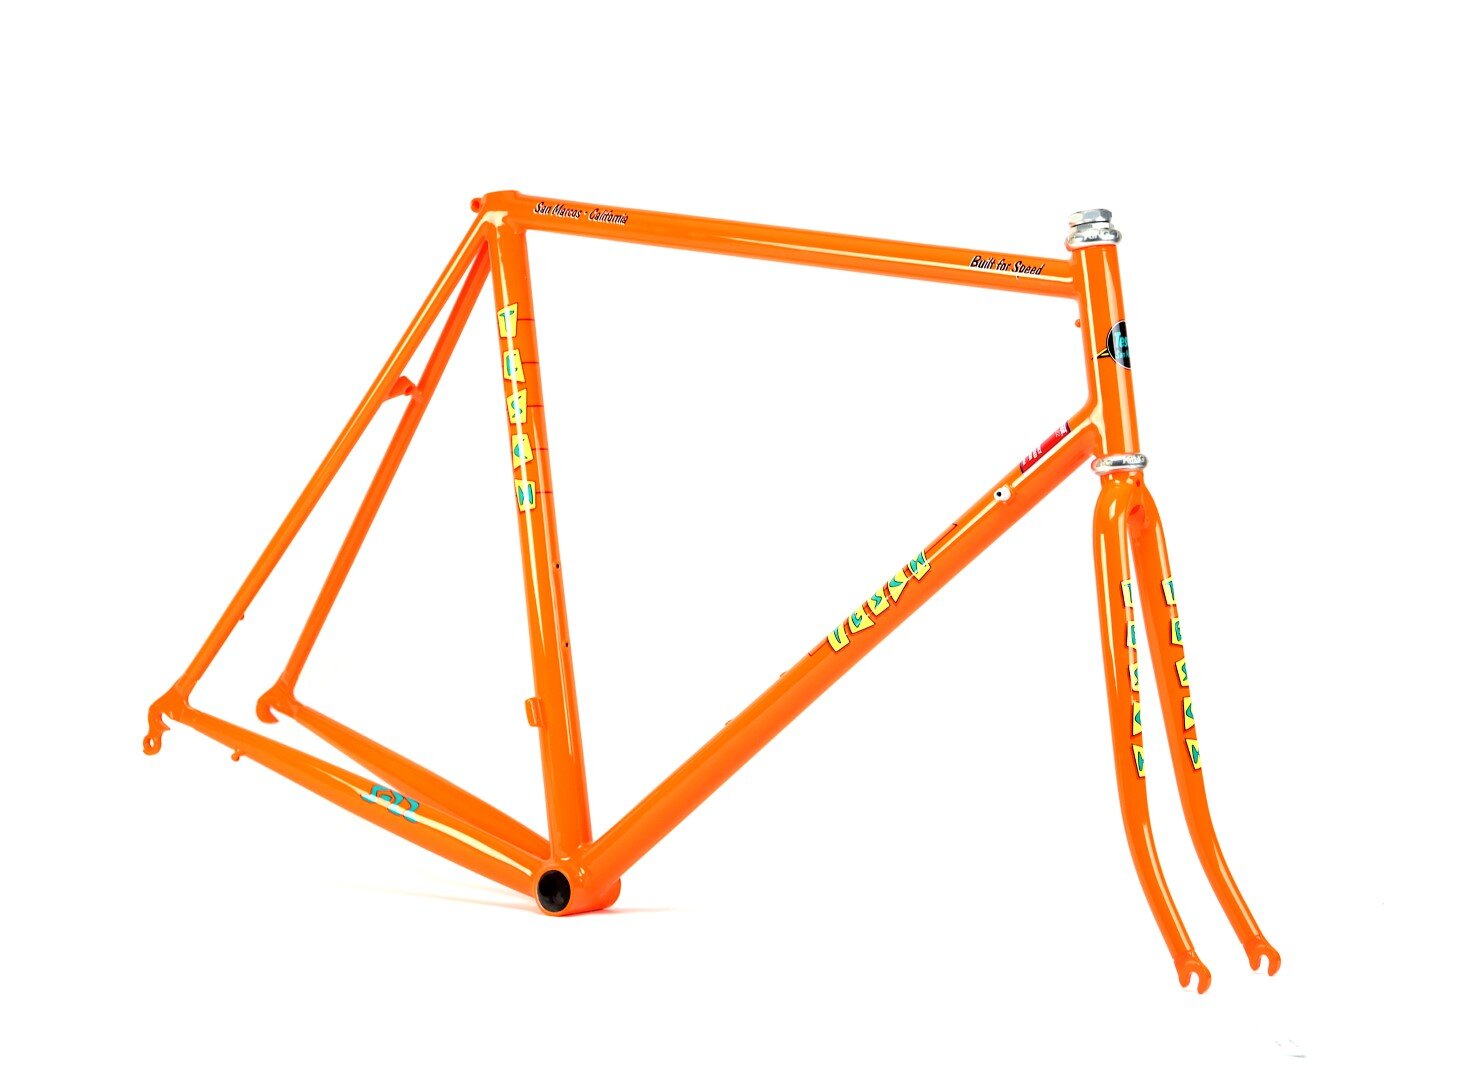
A while back a regular customer and friend of the Ti Cycles shop who has an appreciation for great bikes found himself in possession of a vintage road frame set from a noteworthy American builder that was nothing short of eye-catching.

TCF-SERVICE-Restoration-Tesch-Original (1).jpg
photos courtesy of Scott Ebert

photos courtesy of Scott Ebert

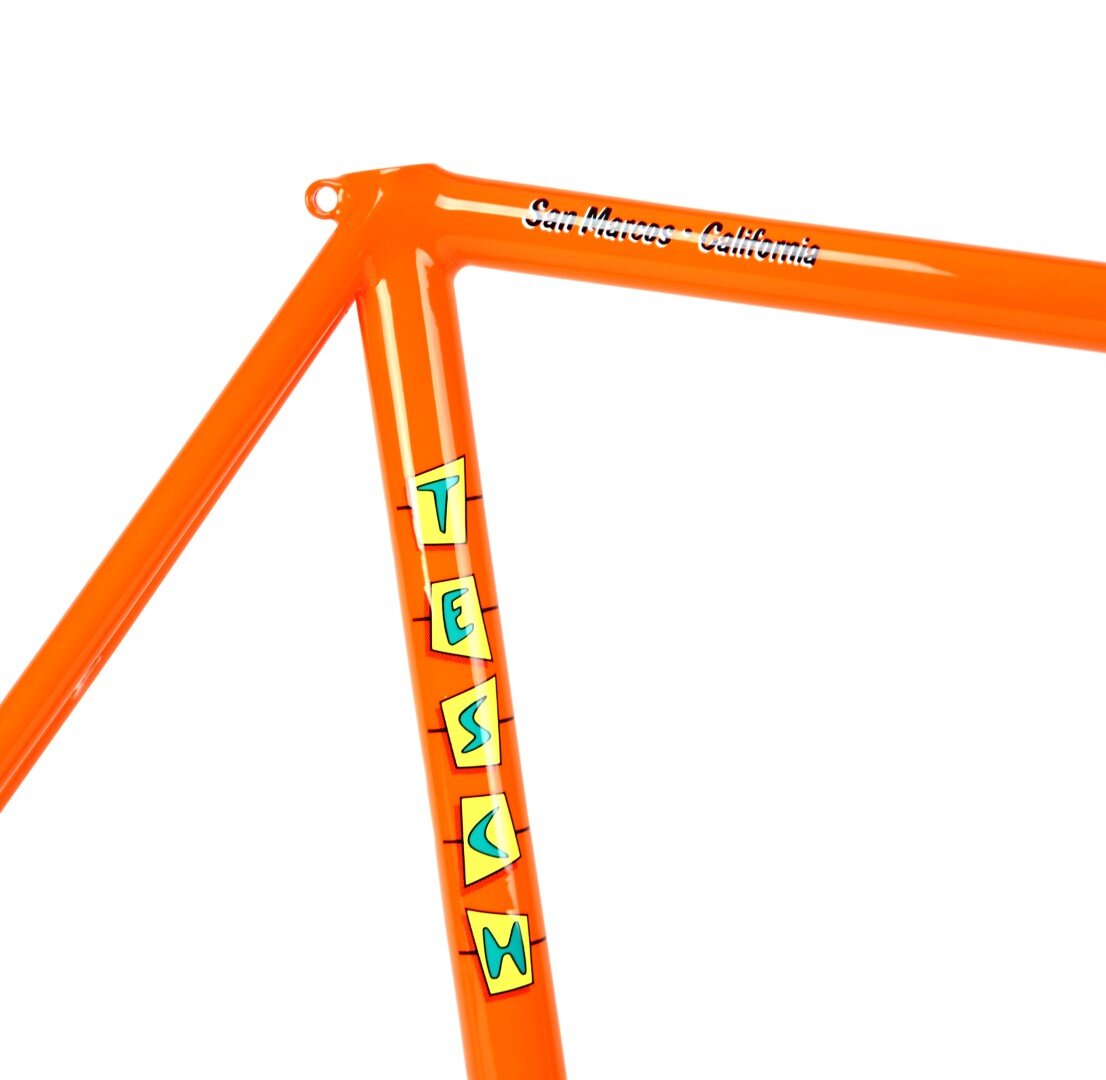
The “S-22” is a spot-on period piece from when it was built, in 1989, by a journeyman bike fabricator during the halcyon days of the modern US bike boom. The bike was bright as heck and highlighted by a retro-futuristic font and graphic scheme that would look equally at home in The Jetsons or The Flintstones. The striking orange, once full flourescent, had some dramatic fading but even that was pretty cool, adding rather than subtracting from the overall look.

The builder, David Tesch, is as interesting as the bike; a few breadcrumbs of information online has him popping up at a couple of important places during the the genesis of the modern American bike industry.

Tesch got his start in the right place at the right time, landing at the nascent Trek Bicycle Corporation just as it was transitioning from a small Wisconsin upstart making their TX series touring frames out of a rented warehouse to a full fledged bike manufacturer with a professional level line of road racing frames and a newborn MTB series. After a few years in Waterloo Tesch made his way out to California where he built frames for Specialized and Masi while also developing his own eponymous brand.

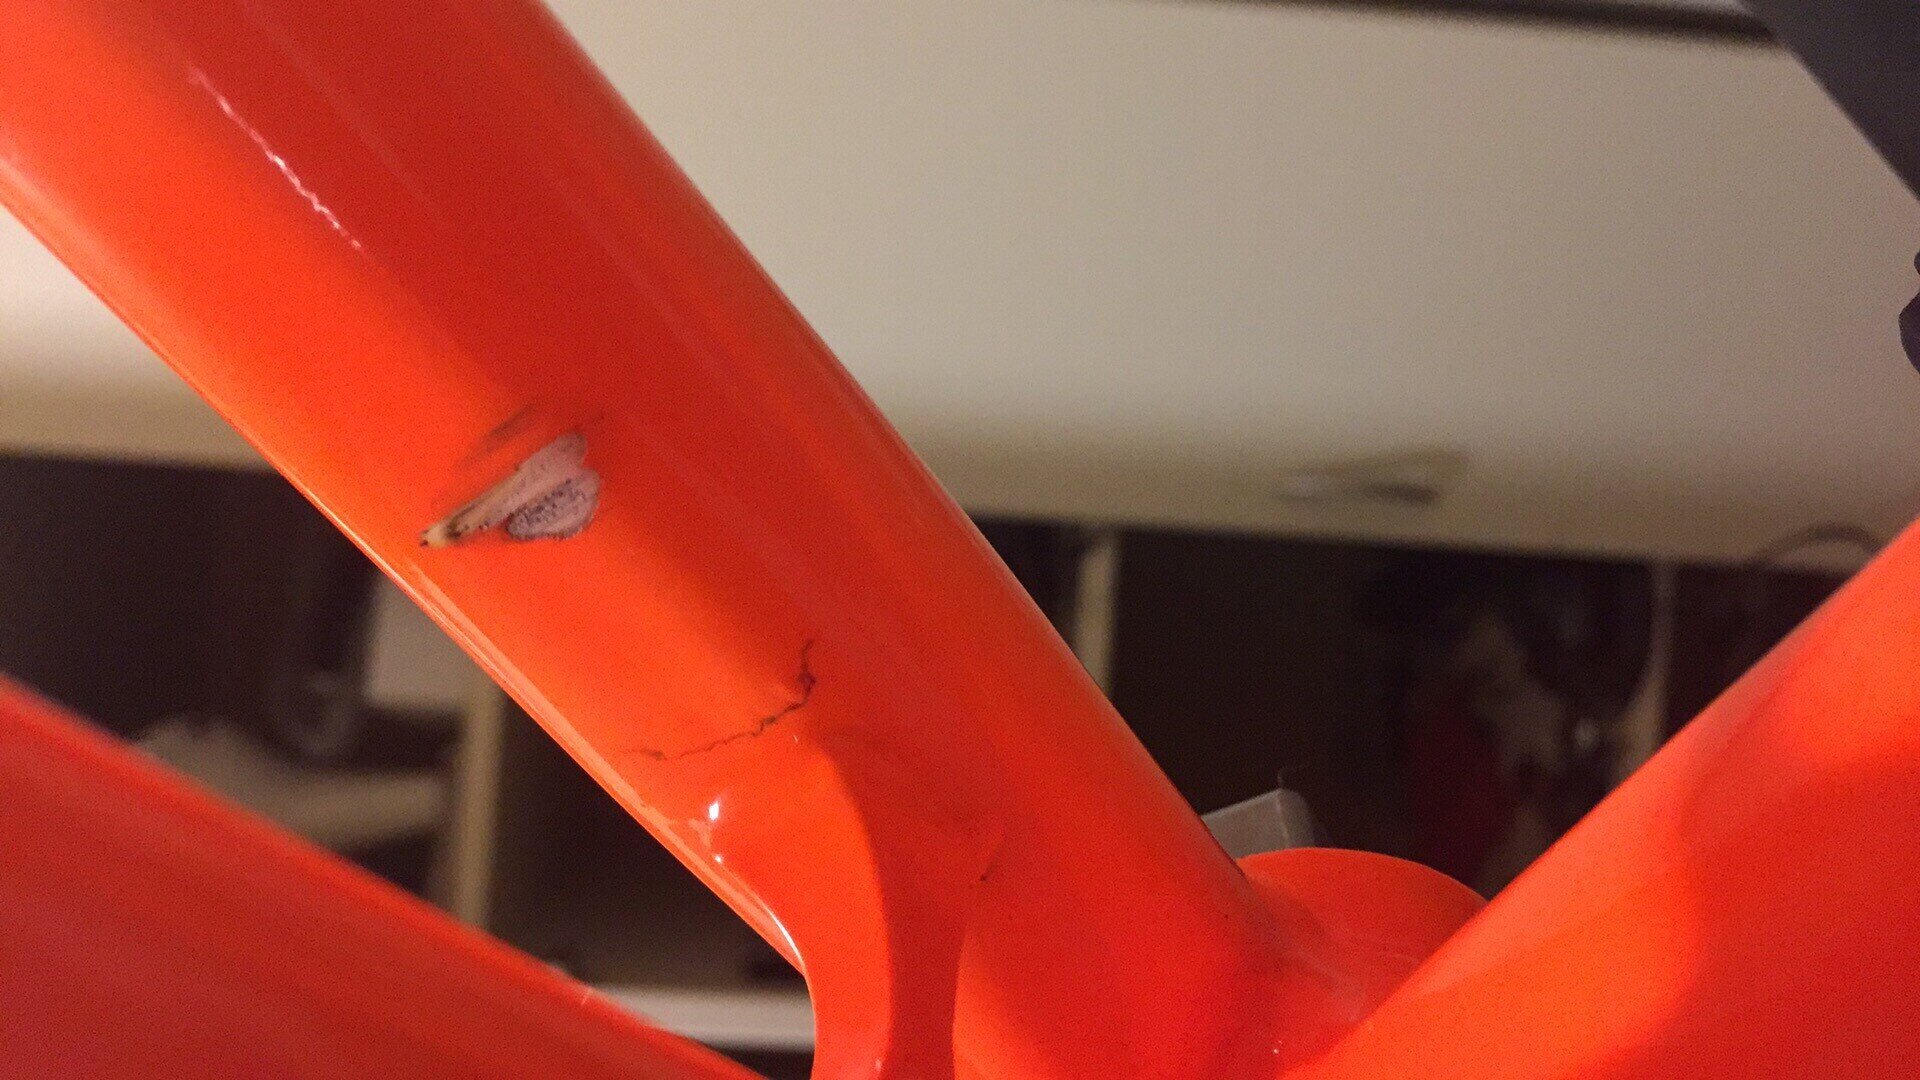
The frame wound up at Ti Cycles, having passed through eBay and at least a couple of owners, with a damaged chain stay in need of repair. At some point in its life a wider than appropriate rear hub had been used without properly respacing the frame and now a crack ran visibly across the inside face of the non-drive-side chain stay, just aft of the bridge.

photo courtesy of Scott Ebert

photo courtesy of Scott Ebert

The frame’s visuals were so fetching that the Tesch looked stellar from 6 feet away. Up close it had a few blemishes befitting a 30-year old race bike, but since a proper repair meant that the paint had to come off nothing was lost.

TCF-Shop-Frame-Repair-CS-Replace-Steel-2018-Tesch- (0).jpg

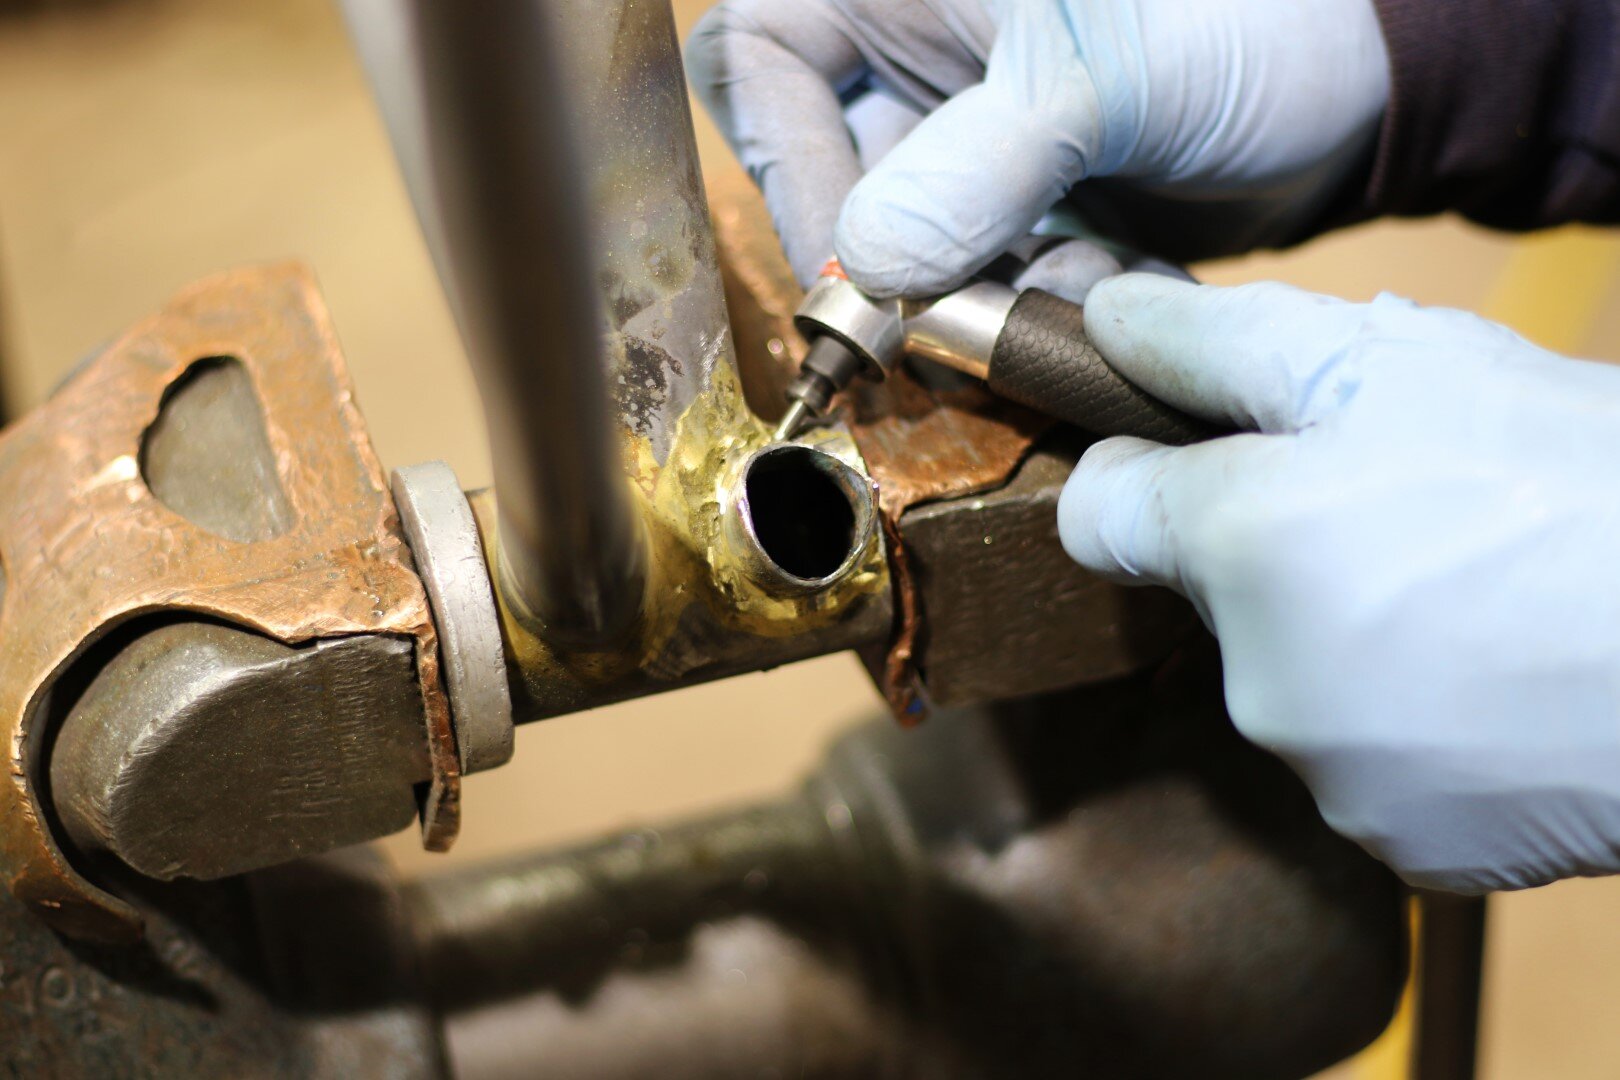
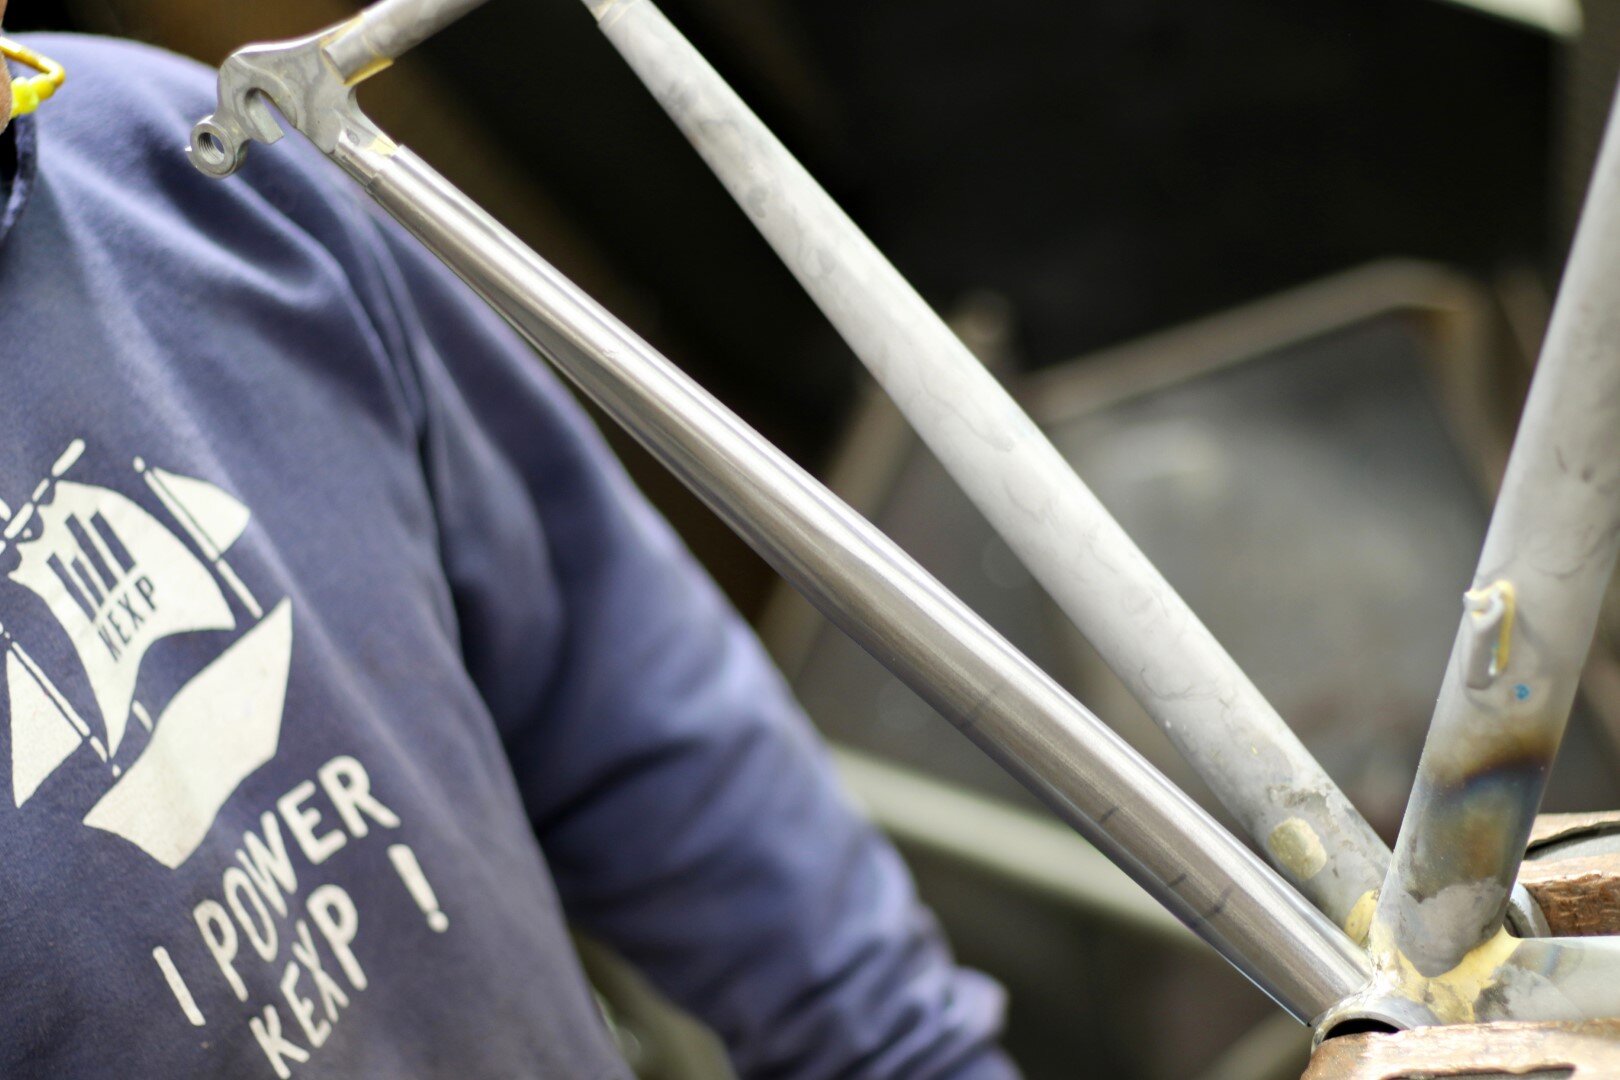
Once it was stripped down to the bare True Temper and brass we found a few crusty corners and eventually a corresponding crack in the drive-side chain stay; a double stayectomy was in order. Before resurrecting the rear triangle we had to find the appropriate replacement parts; two identical pieces of steel frame tubing with the correct taper, the correct wall thickness, and two significantly different diameters at either end. It took a while but eventually Dave tracked down the ideal material and went to work.

After a lot of tedious pressing, cutting, grinding, filing, sanding, and maybe a little bit of swearing, this time capsule was brought back into top form, straight as an arrow with two new chain stays, a rear dropout alignment and re-spacing, and scoured clean inside and out to prep for fresh paint.

We handed the frame and fork over to the color wizards at Black Magic Paint for a museum quality restoration, and the finished product does not disappoint.
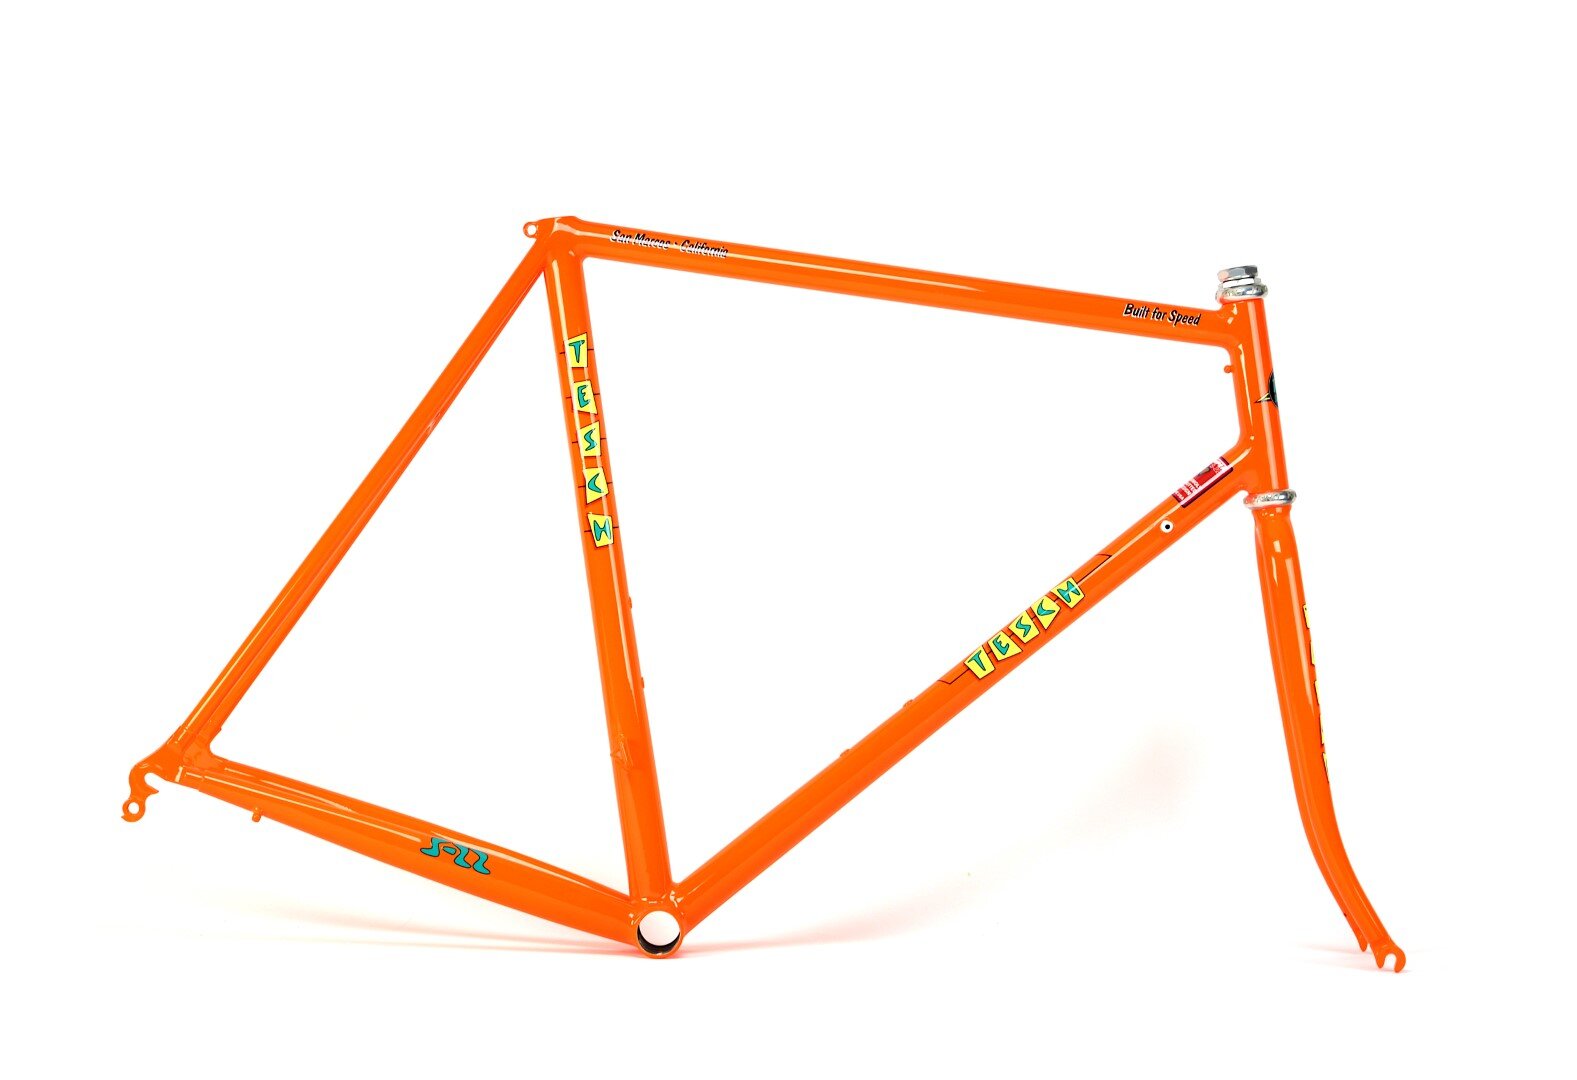
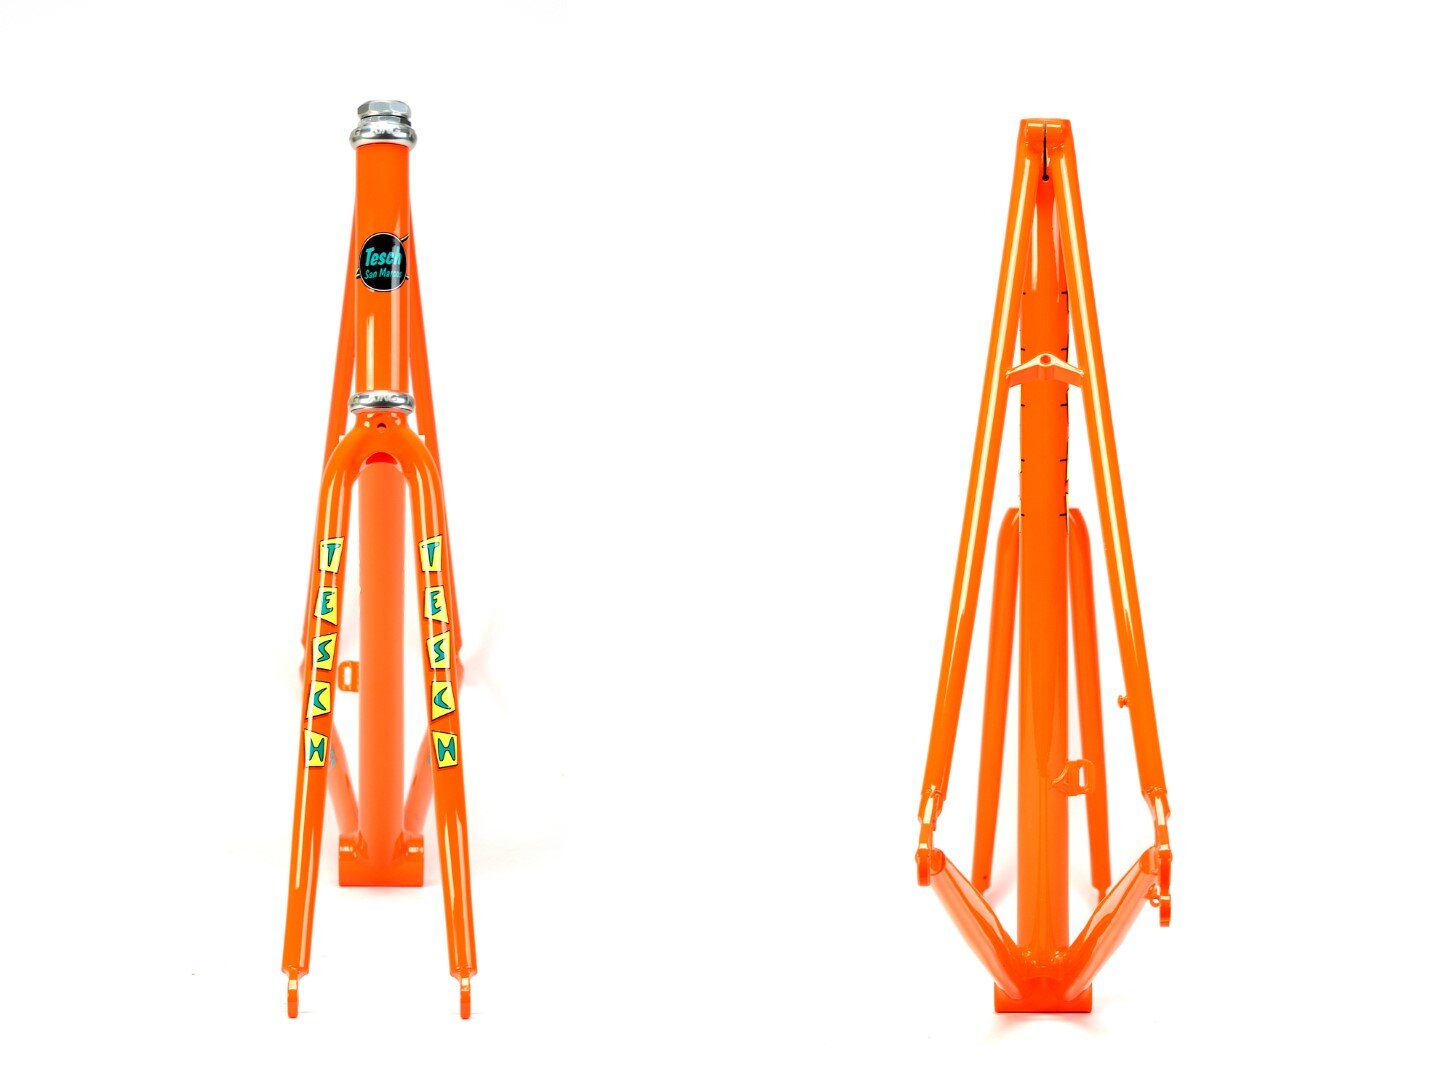
More information on Tesch bikes can be found at ClassicRendezvous.com

Service: Dropout Conversion

Service: Dropout Conversion

Changing dropouts is one of the most complicated frame modifications to perform, and requests for those retrofits are becoming increasingly common as so many vintage frames built with durable materials like steel and titanium outlast the axle and brake standards of their day.

The complication is largely due to the sheer variety of dropouts that are in circulation.

Unlike head tubes, bottom bracket shells, main tubes, and other frame components that have traditionally been widely standardized and used more or less interchangeably on frames across all disciplines (the stalwart BSA English bottom bracket can be found on the vast majority of road, mountain, track, tandem, and even recumbent bikes built over the last half century), chain-stays and dropouts are rarely common across different product categories. Instead they have been made in a plethora of shapes and sizes, often designed for a specific functionality or axle/brake/spacing standard, and sometimes with proprietary dimensions or fitments. 
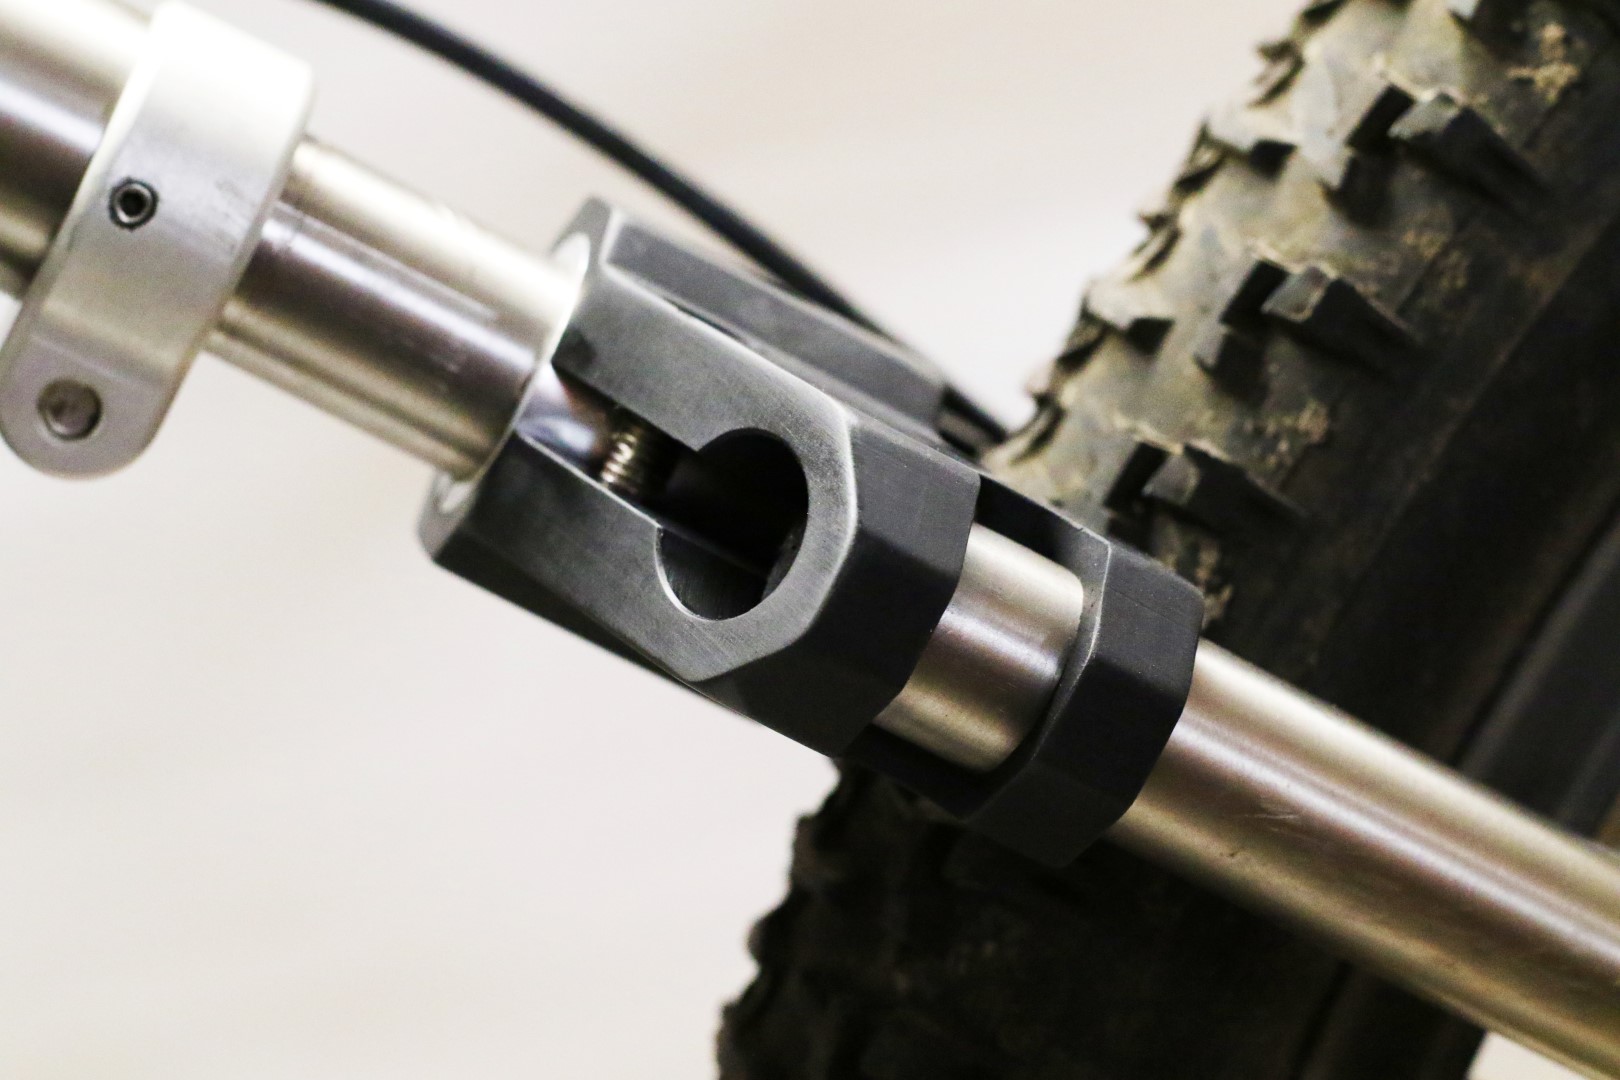
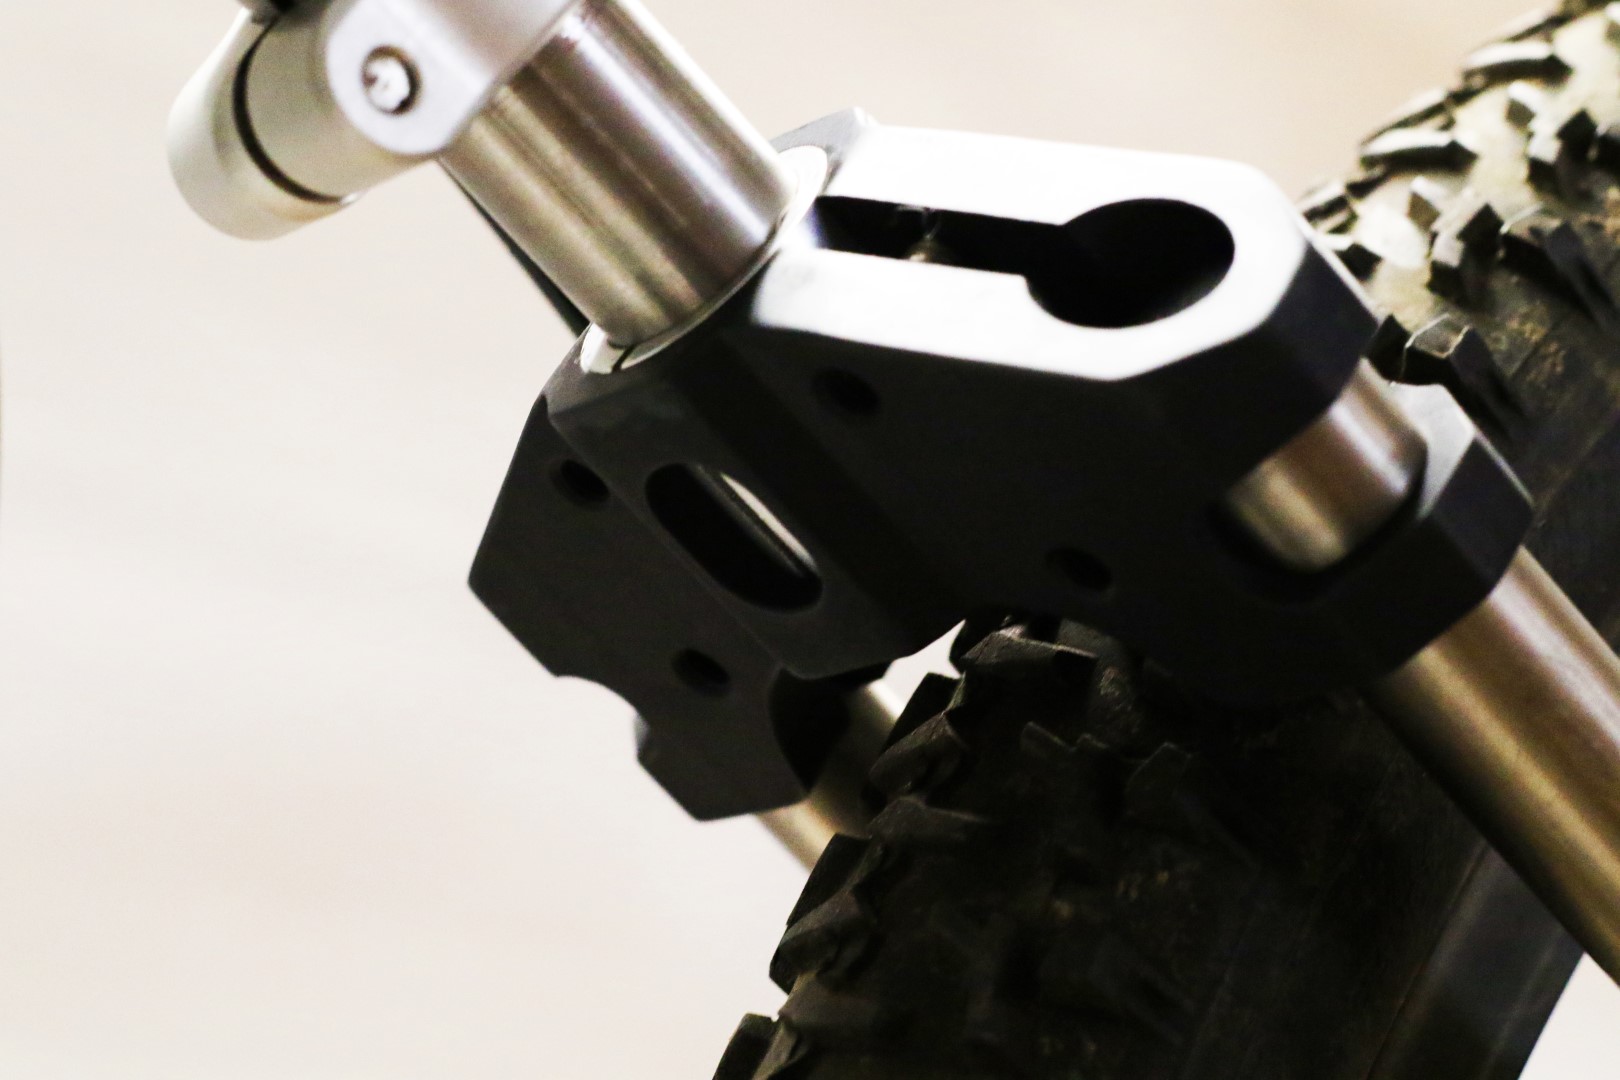
The lengths, angles, and shapes of a bike frame’s rear triangle ensure that the rear axle is placed in a precise location; changing that location by even a few millimeters can noticeably impact the handling of the bicycle, not to mention creating the potential for interference issues with brake calipers, cassette lock rings, and other component parts that are subsequently designed to reference the rear axle location.

It is easy enough to consider a number of dropout styles when designing a frame, before the tubes are cut. But when it comes to retrofits the details of the original rear triangle design often preclude simply cutting one dropout out and welding another one in. This is especially the case when the retrofit is intended to change the application/format of the frame: from a vertical road dropout to a horizontal track dropout; from a fixed non-disc quick release dropout to an adjustable thru-axle disc brake dropout, et cetera.

Different styles of dropouts -- especially those designed decades apart for different axle, brake, and spacing standards -- rarely have similar shapes, lengths, or angles of attachment for stays. Moreover, even across a size run within a single frame model/design there are often dramatic differences in the angle at which seat-stays and dropouts intersect; with all other design variables kept neutral a 49cm frame’s seat stay will attach to the dropout at a much more acute angle than a 61cm frame of the same model.

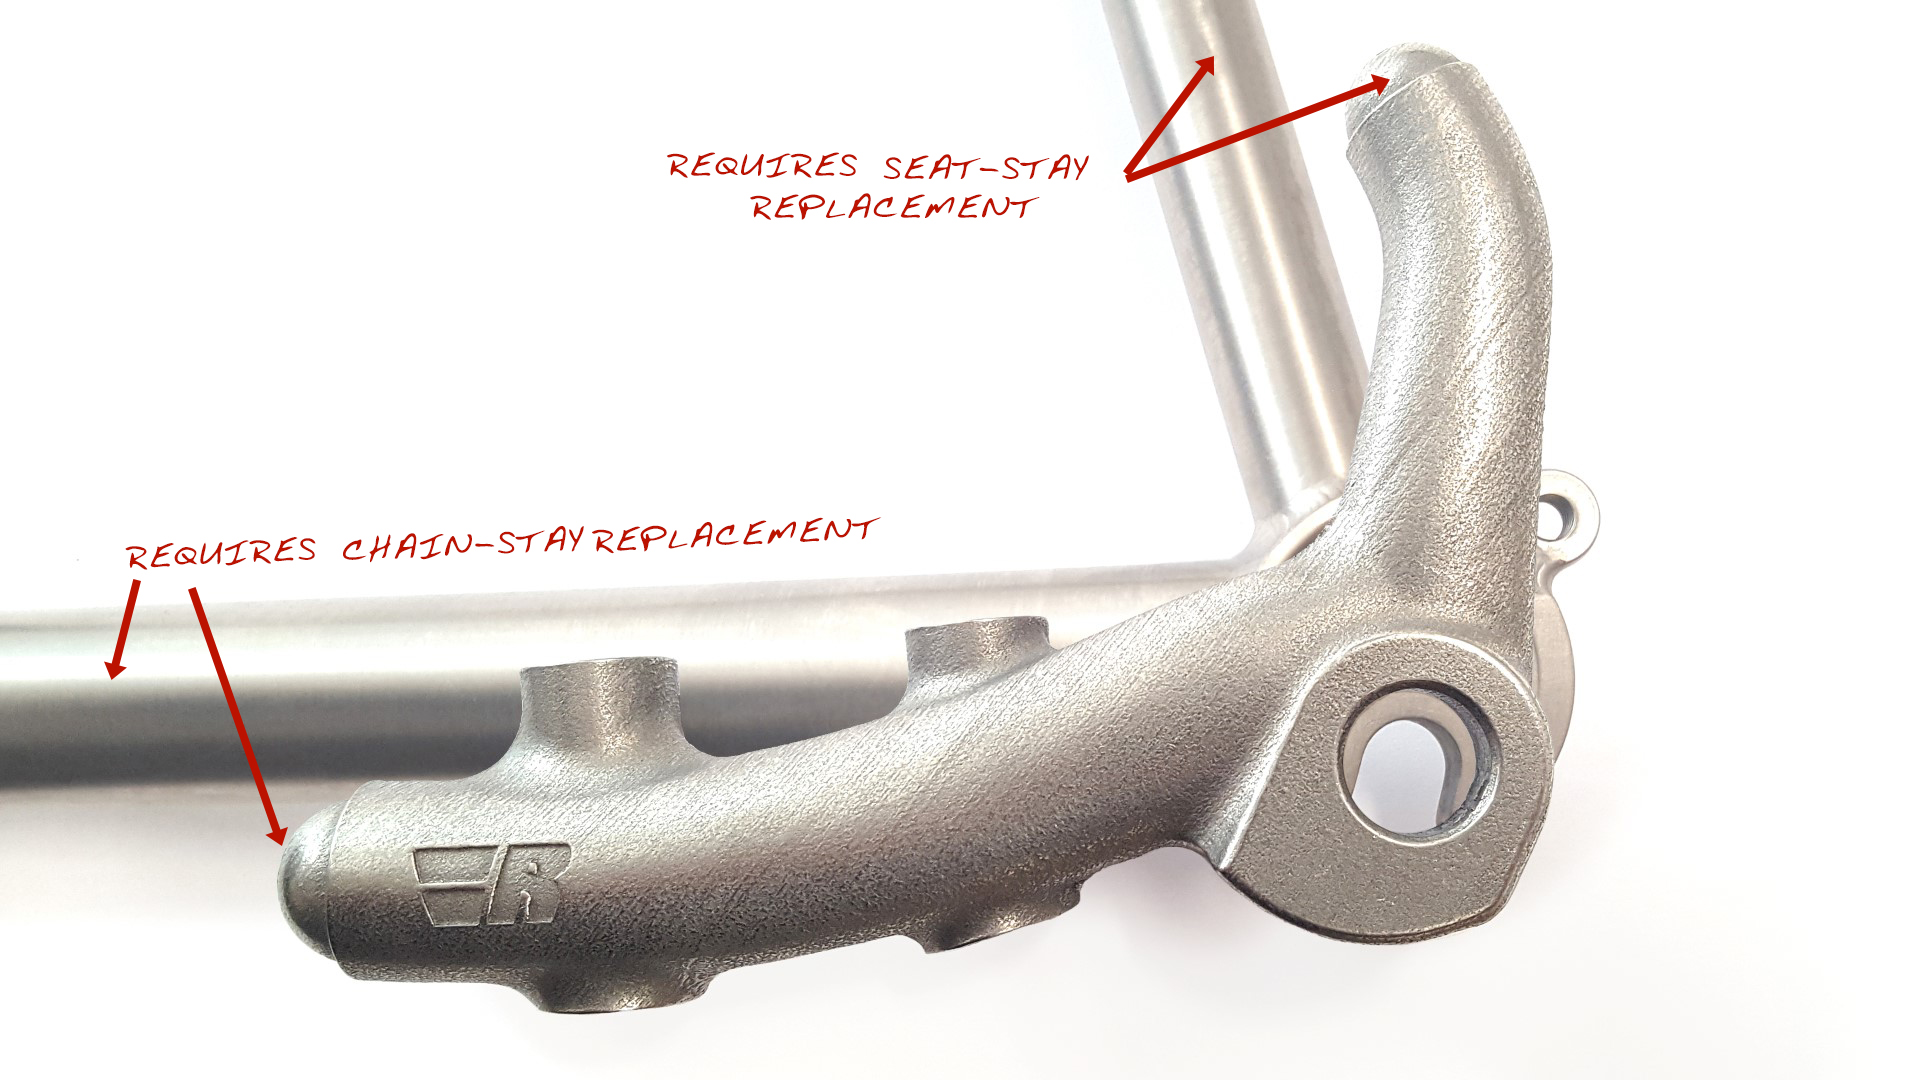
Ultimately this means that the replacement of entire chain-stays and/or seat-stays are often required to keep the rear axle in the same location.

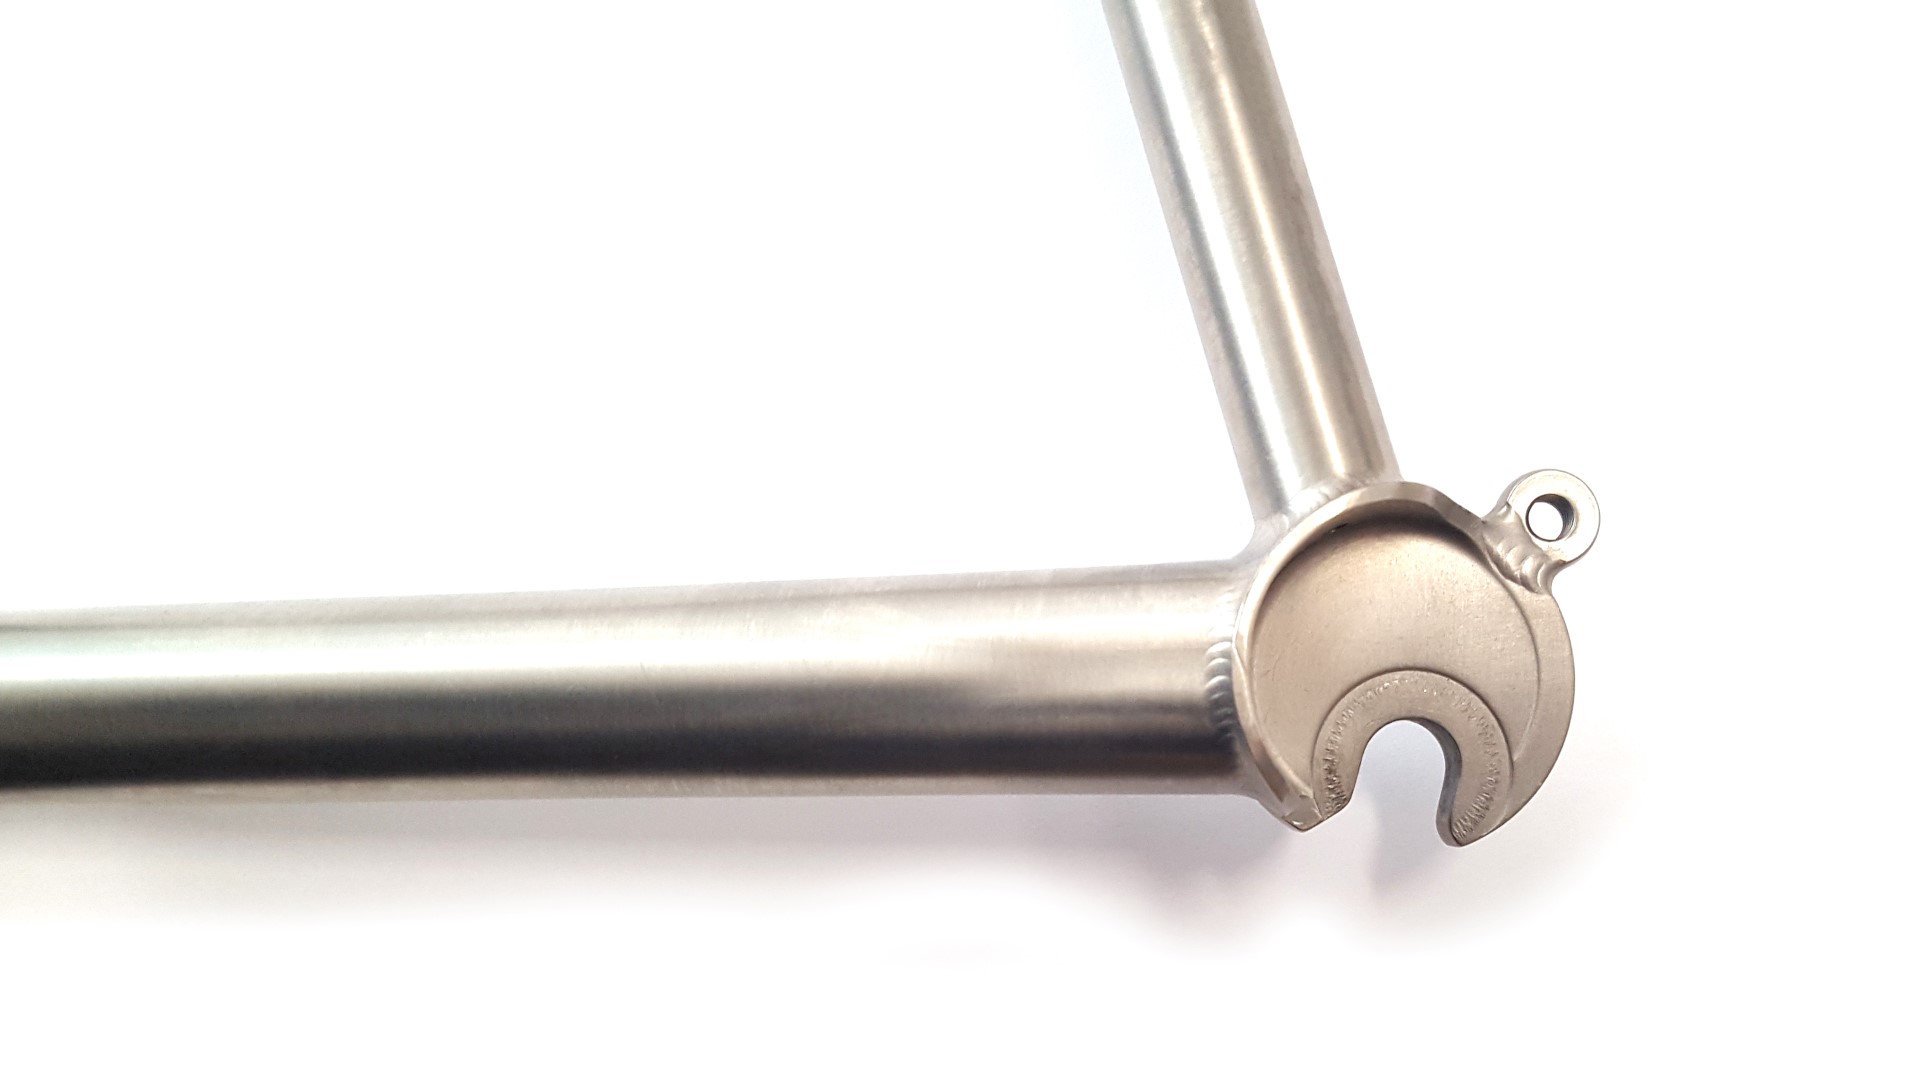
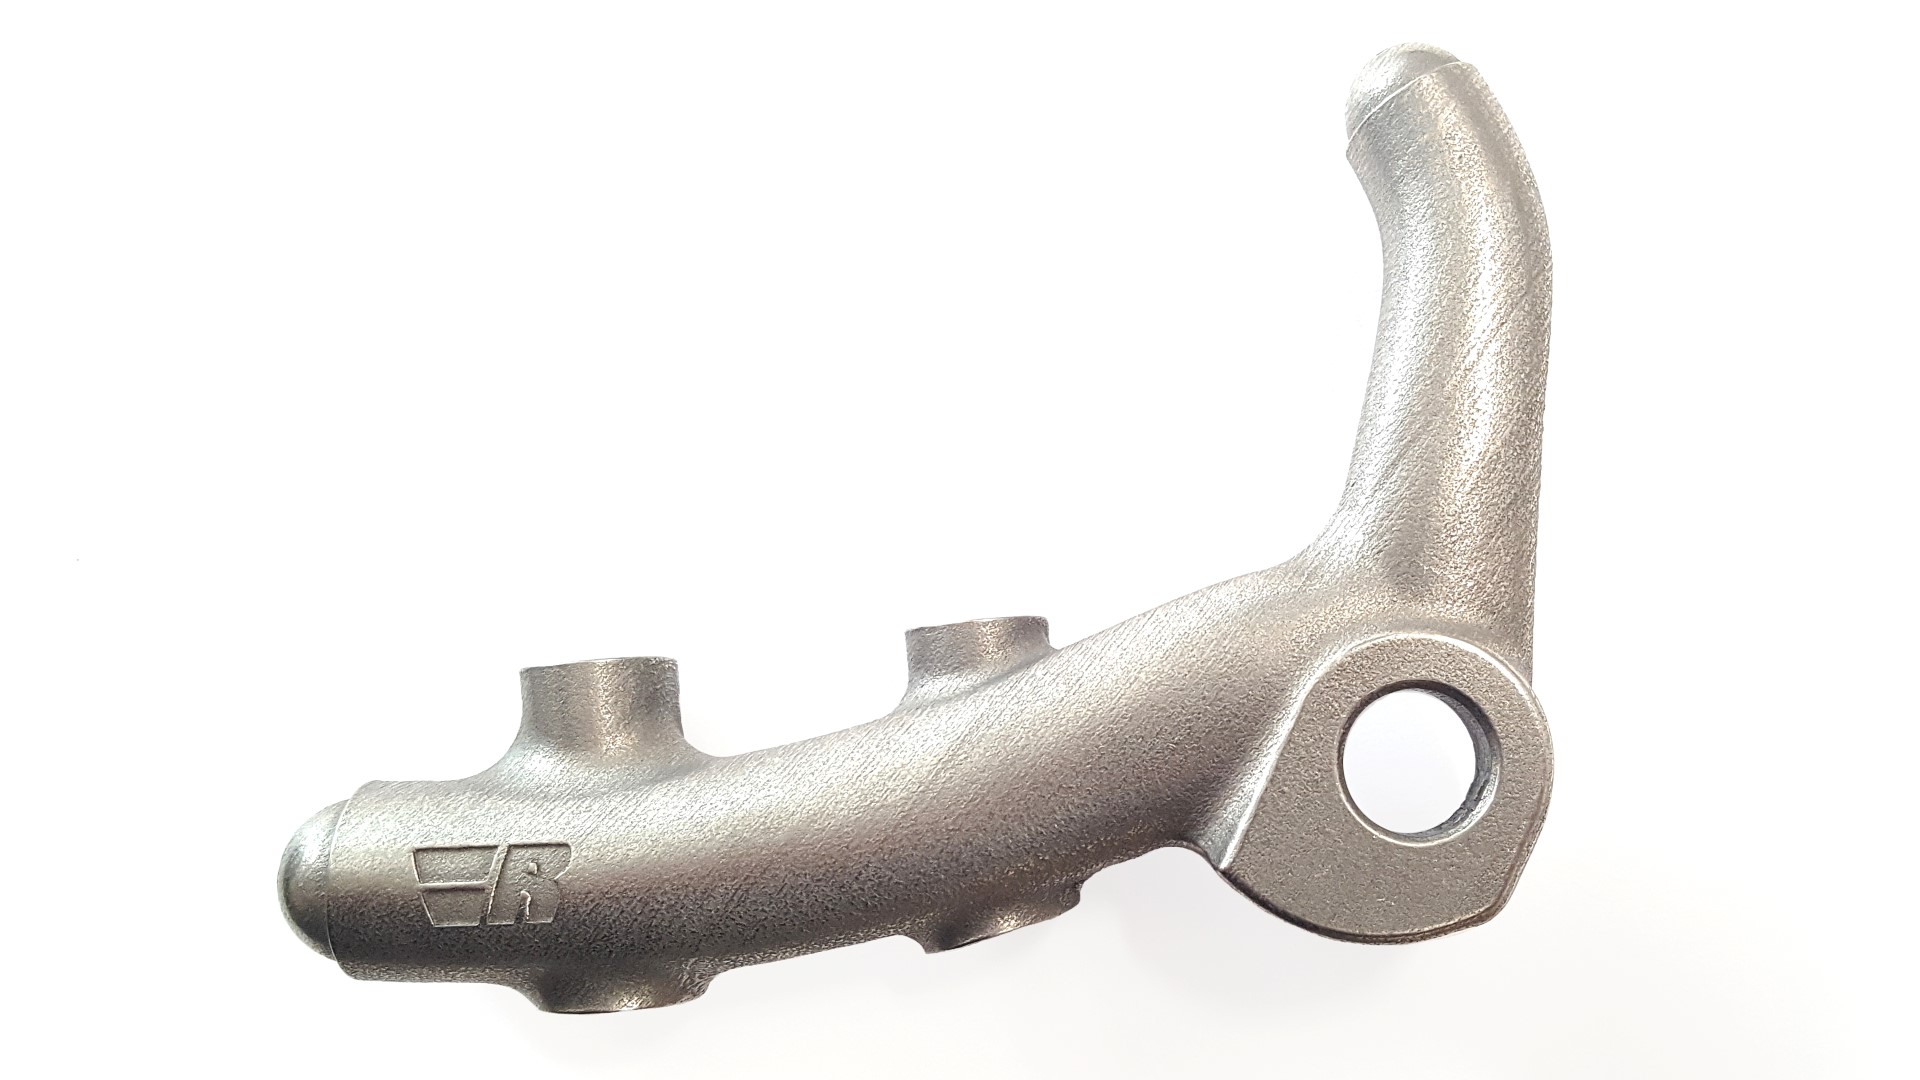
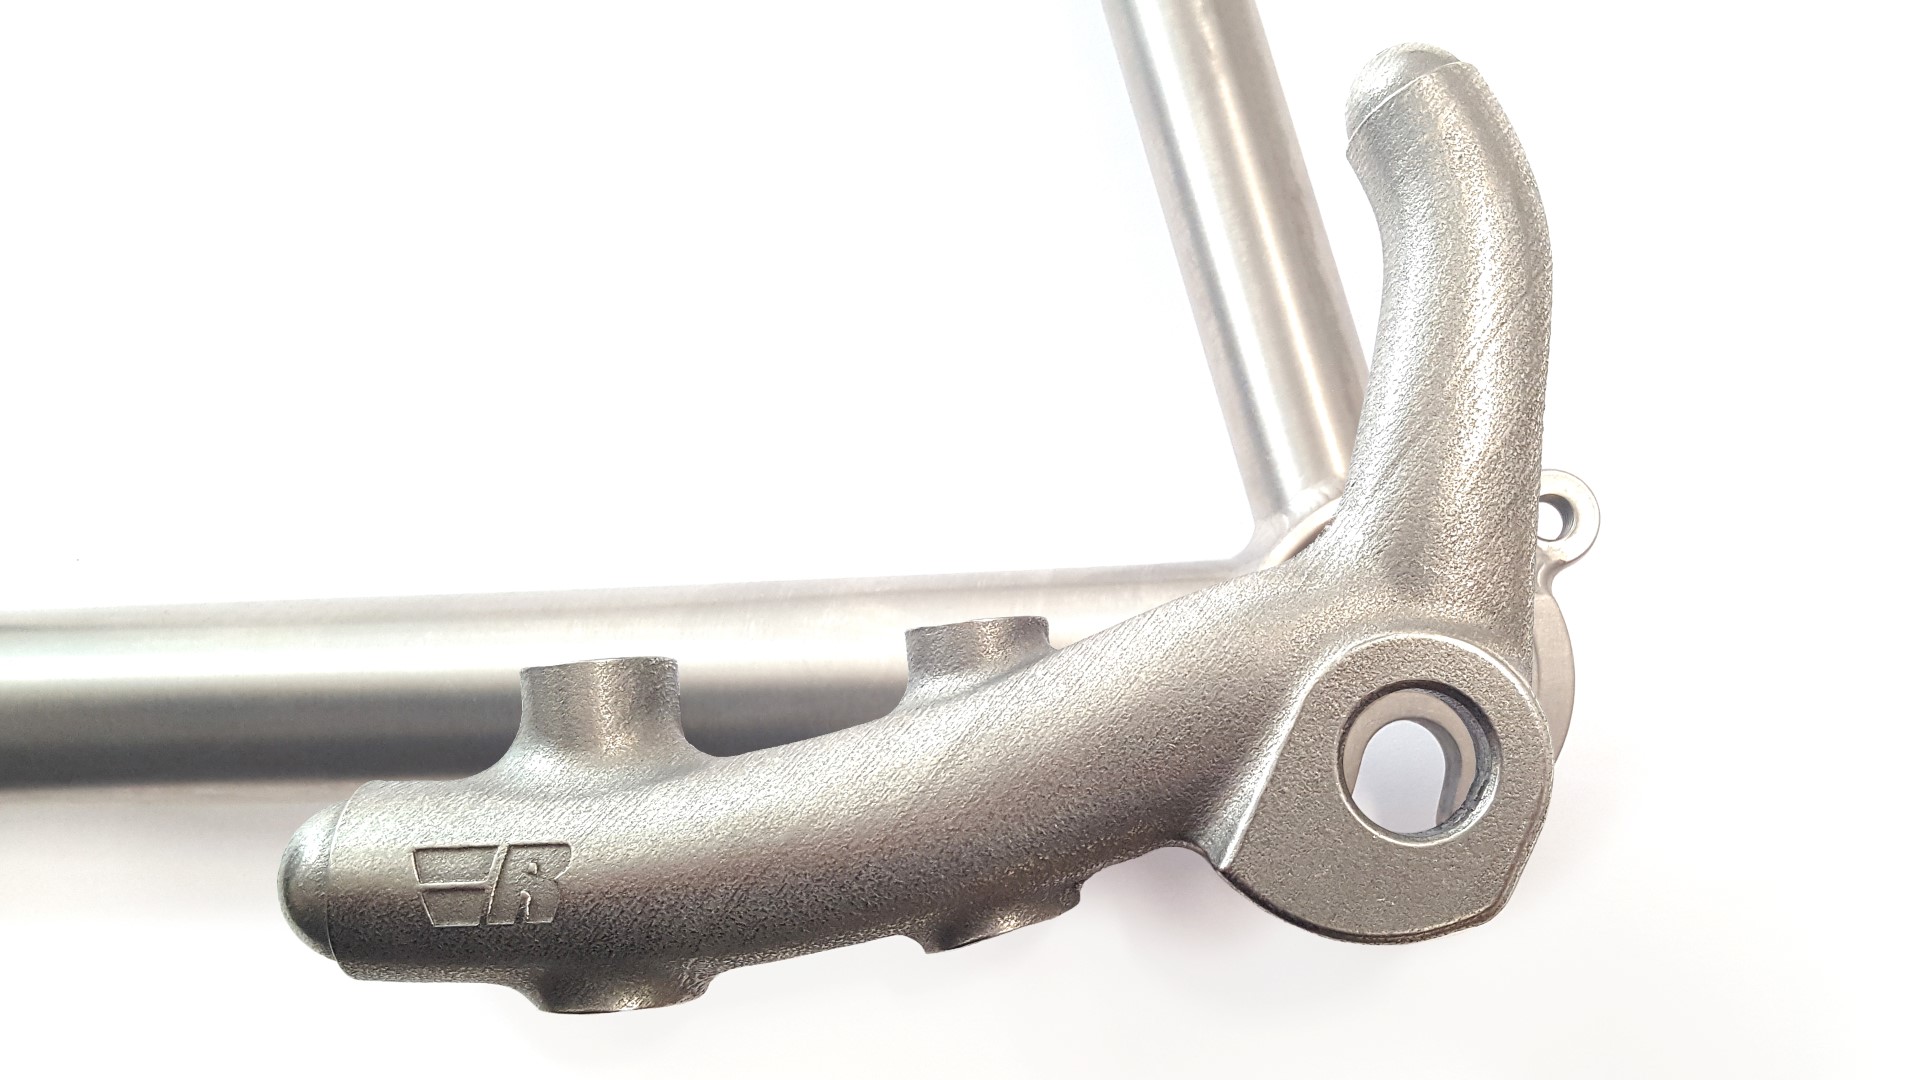
For an example, see the images below, showing the complications with one of the more common requests: converting a traditional 130QR rim brake frame to a 142x12 disc brake frame with the Reynolds R3D flat mount dropout. The impediments to an easy conversion are numerous and obvious.


That said, Yes! it is possible to retrofit most frames with dropouts of almost any style. It will likely not be simple or easy, and it may require custom dropout fabrication, chain-stay and/or seat-stay replacement to work, but it can be done.

It is also worth noting that some dropout retrofits, especially when converting a non-disc brake frame to disc, offer the potential for cost savings when updating to modular setups like Rocker Dropouts. These systems use a frame fitment that uses dropout inserts with an integrated disc caliper mount, eliminating the need for a separate disc brake conversion.

To be fair, sometimes serendipity provides for a replacement dropout that mates well enough with an existing rear triangle that it is possible to do a straightforward cut-and-replace. This best case scenario is rare and still involves several hours of shop time and new dropouts, but is ultimately much more affordable than a more complicated retrofit that requires replacing stays.

For a retrofit quote please reach out with information on your bike, along with photos, as well as your end objective and budget. We are here to help!

Service: Complicated Repair Archive // Lemond Tete de Course

Service: Complicated Repair Archive // Lemond Tete de Course

The motto around the Ti Cycles shop is "Anything Is Possible". If something was made once, it can be made again.

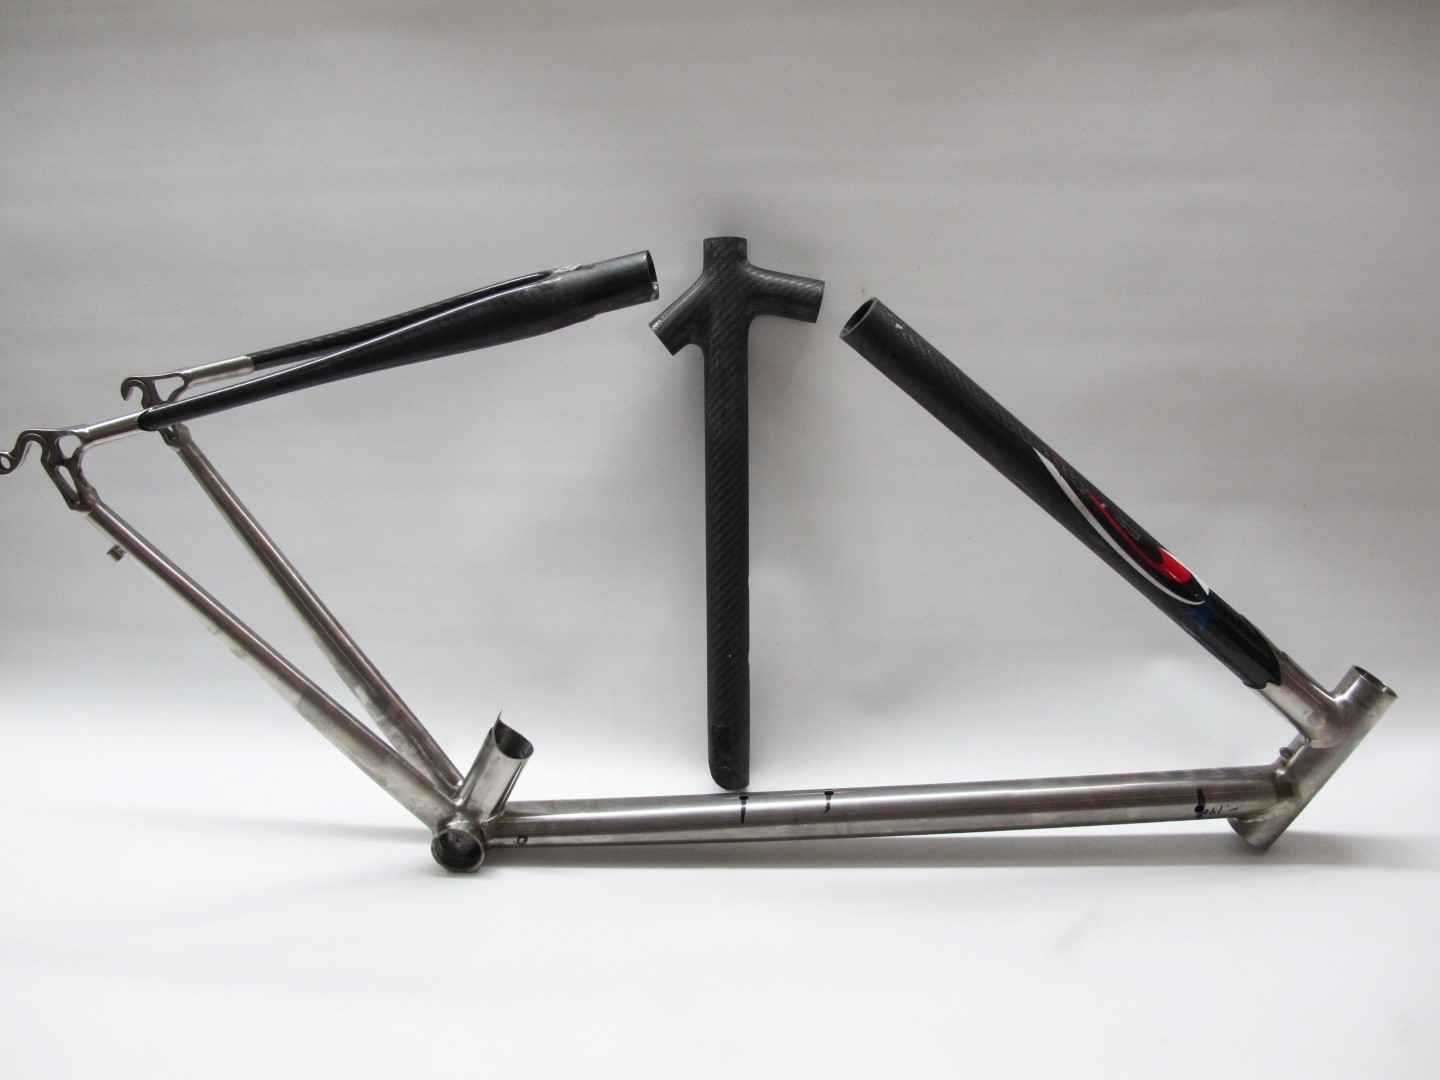
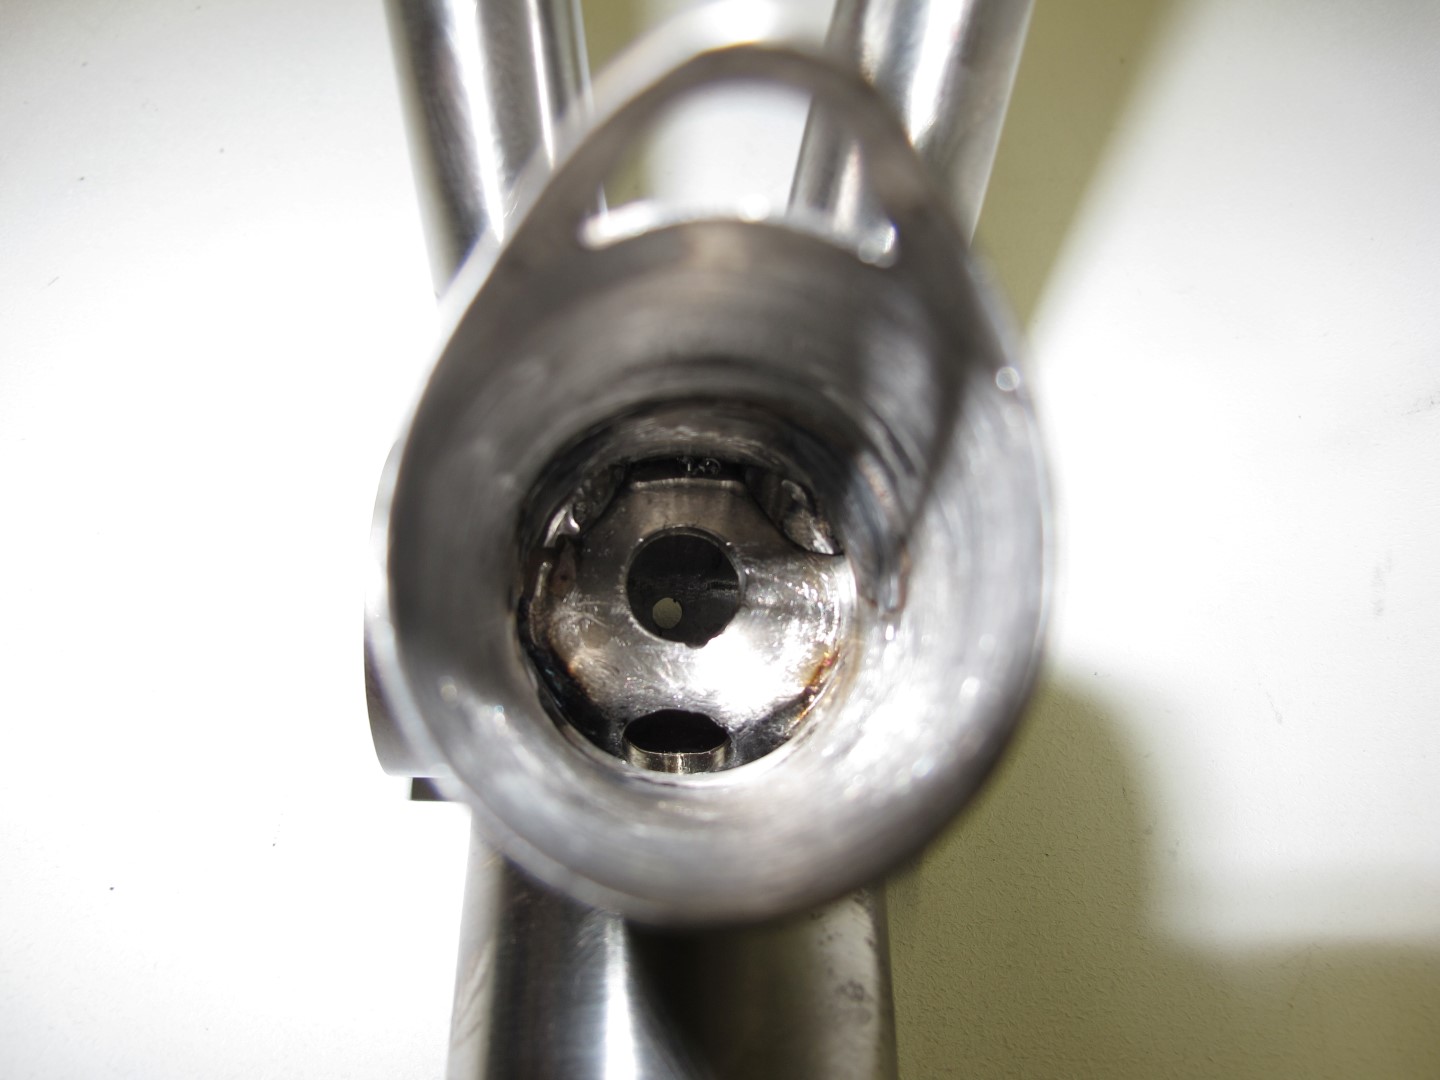
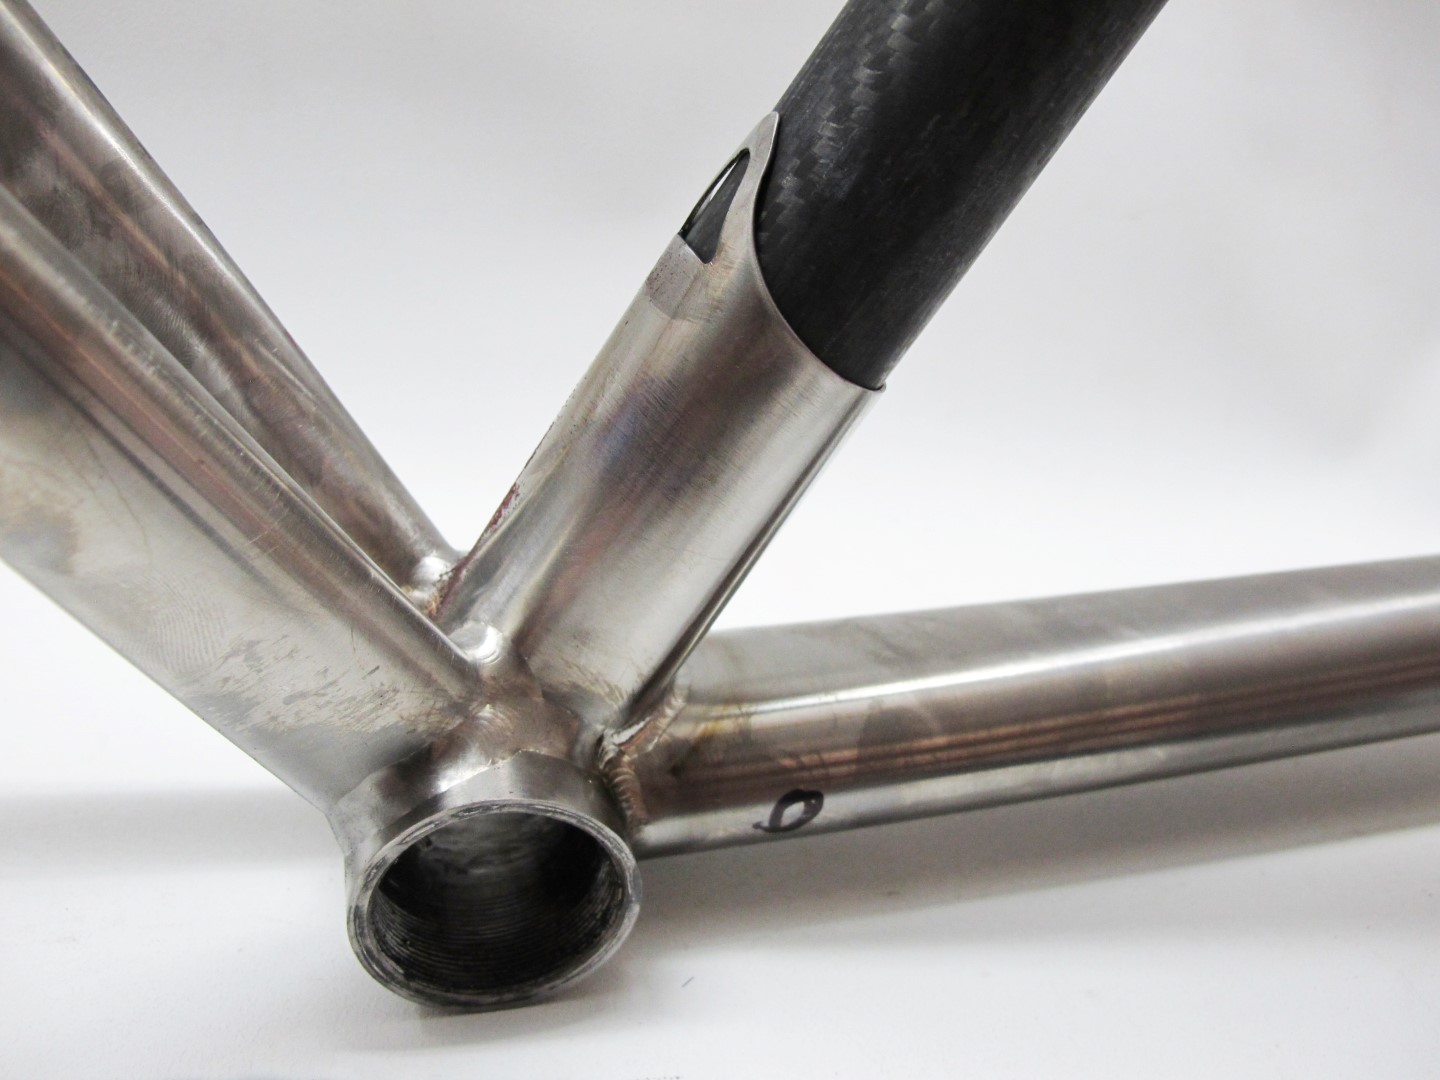
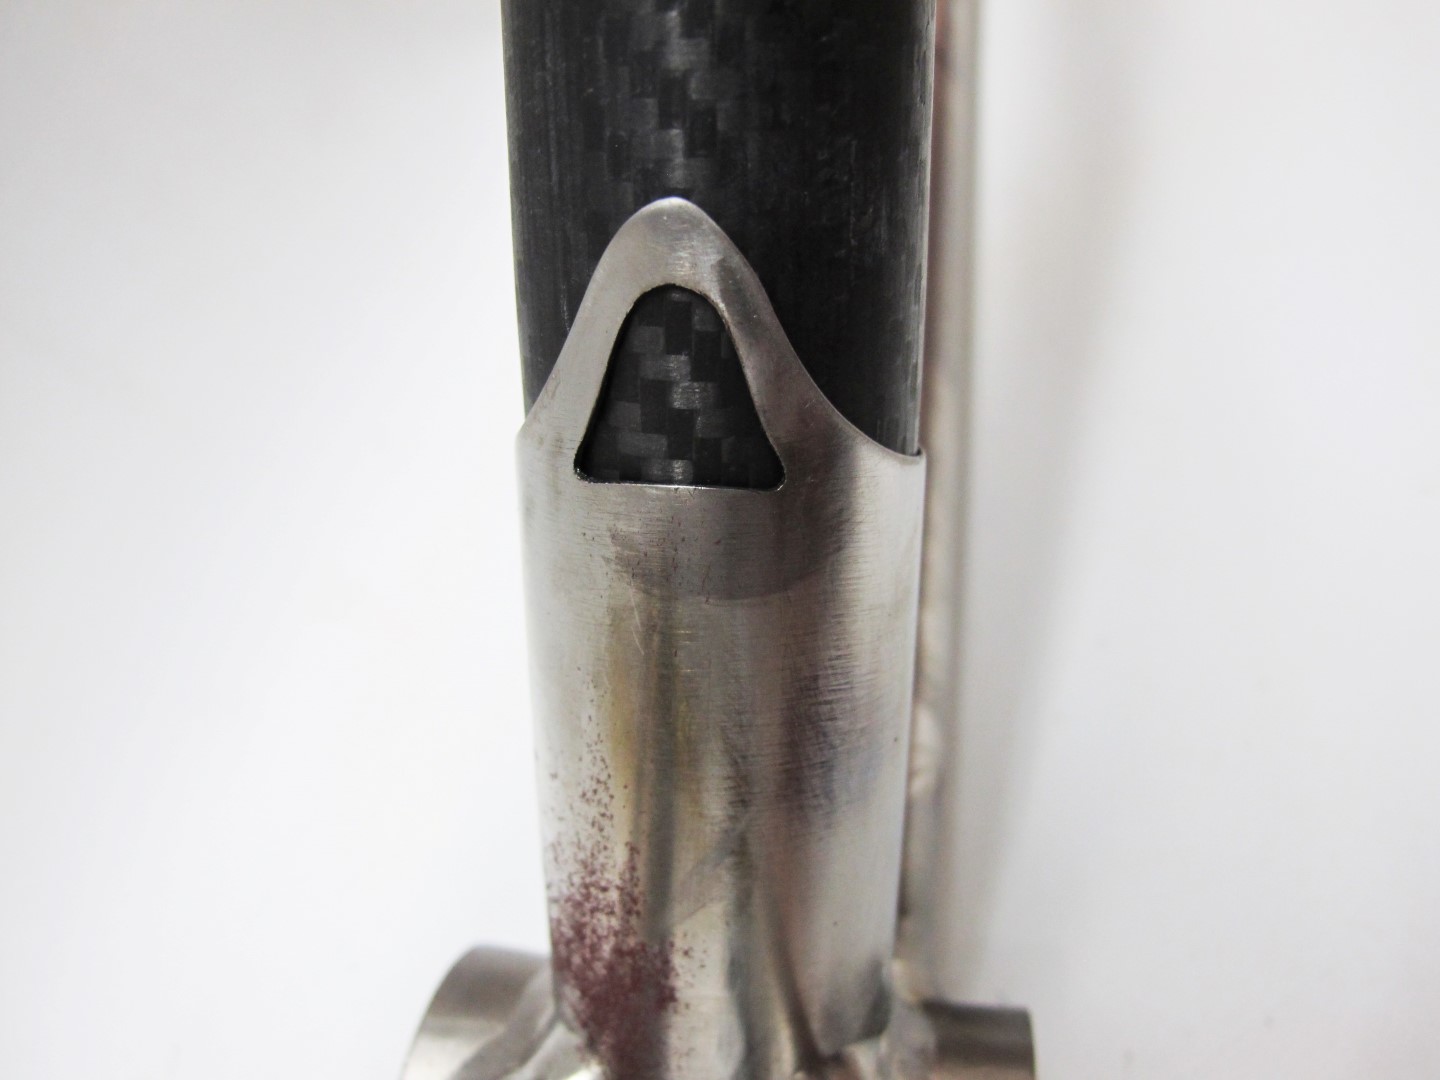
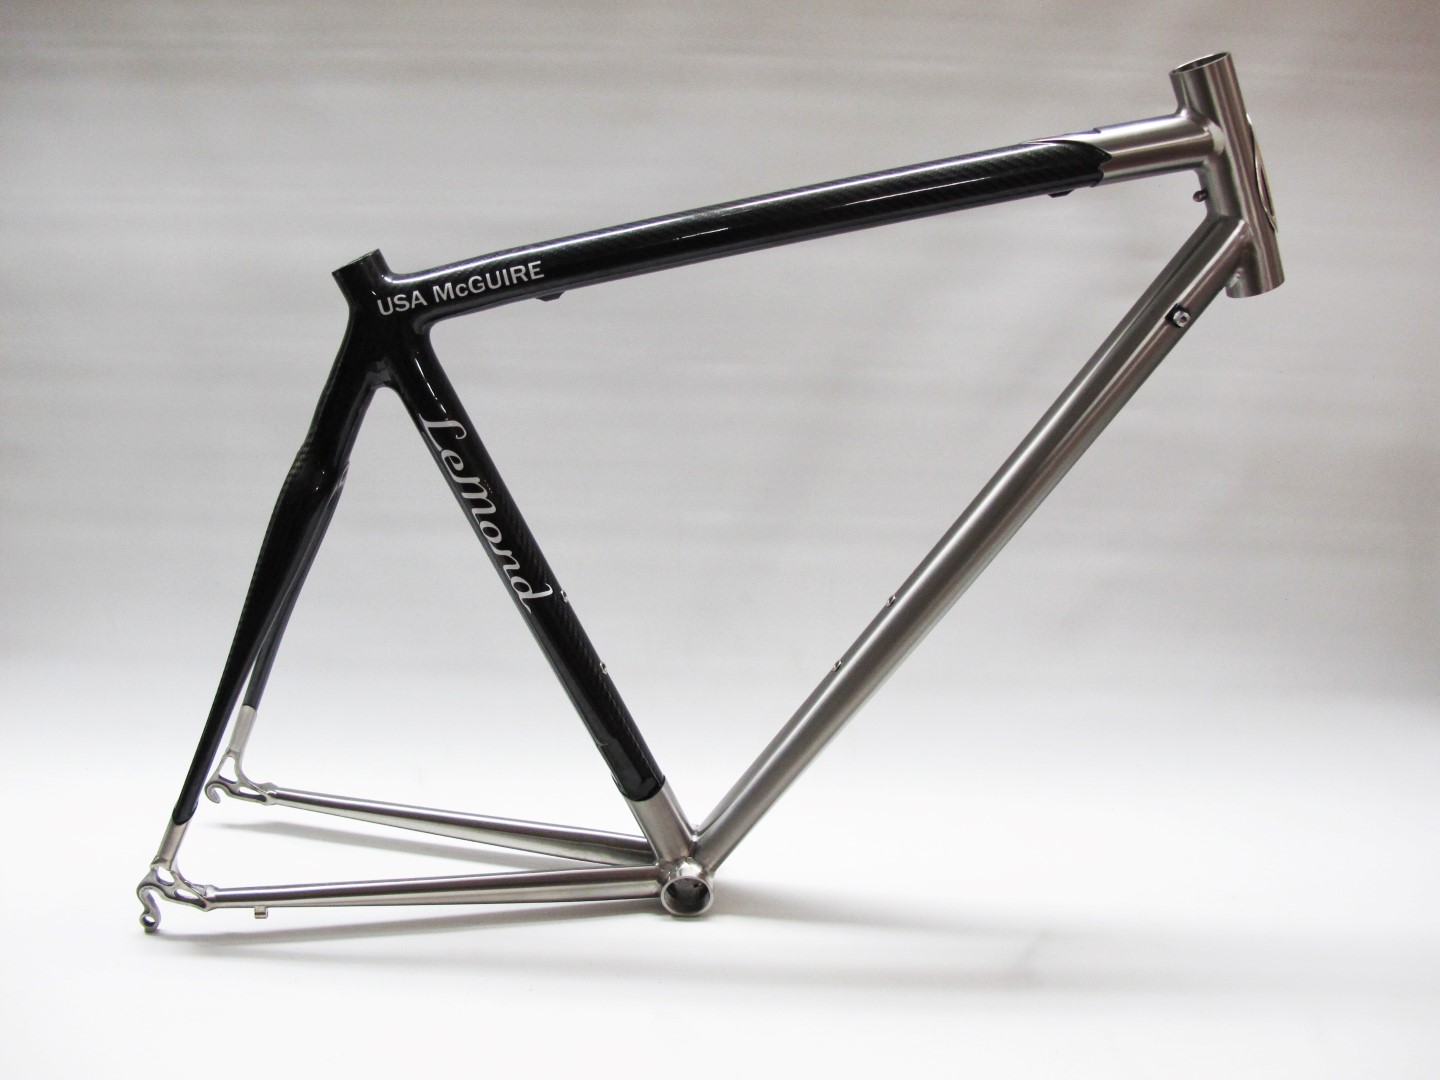
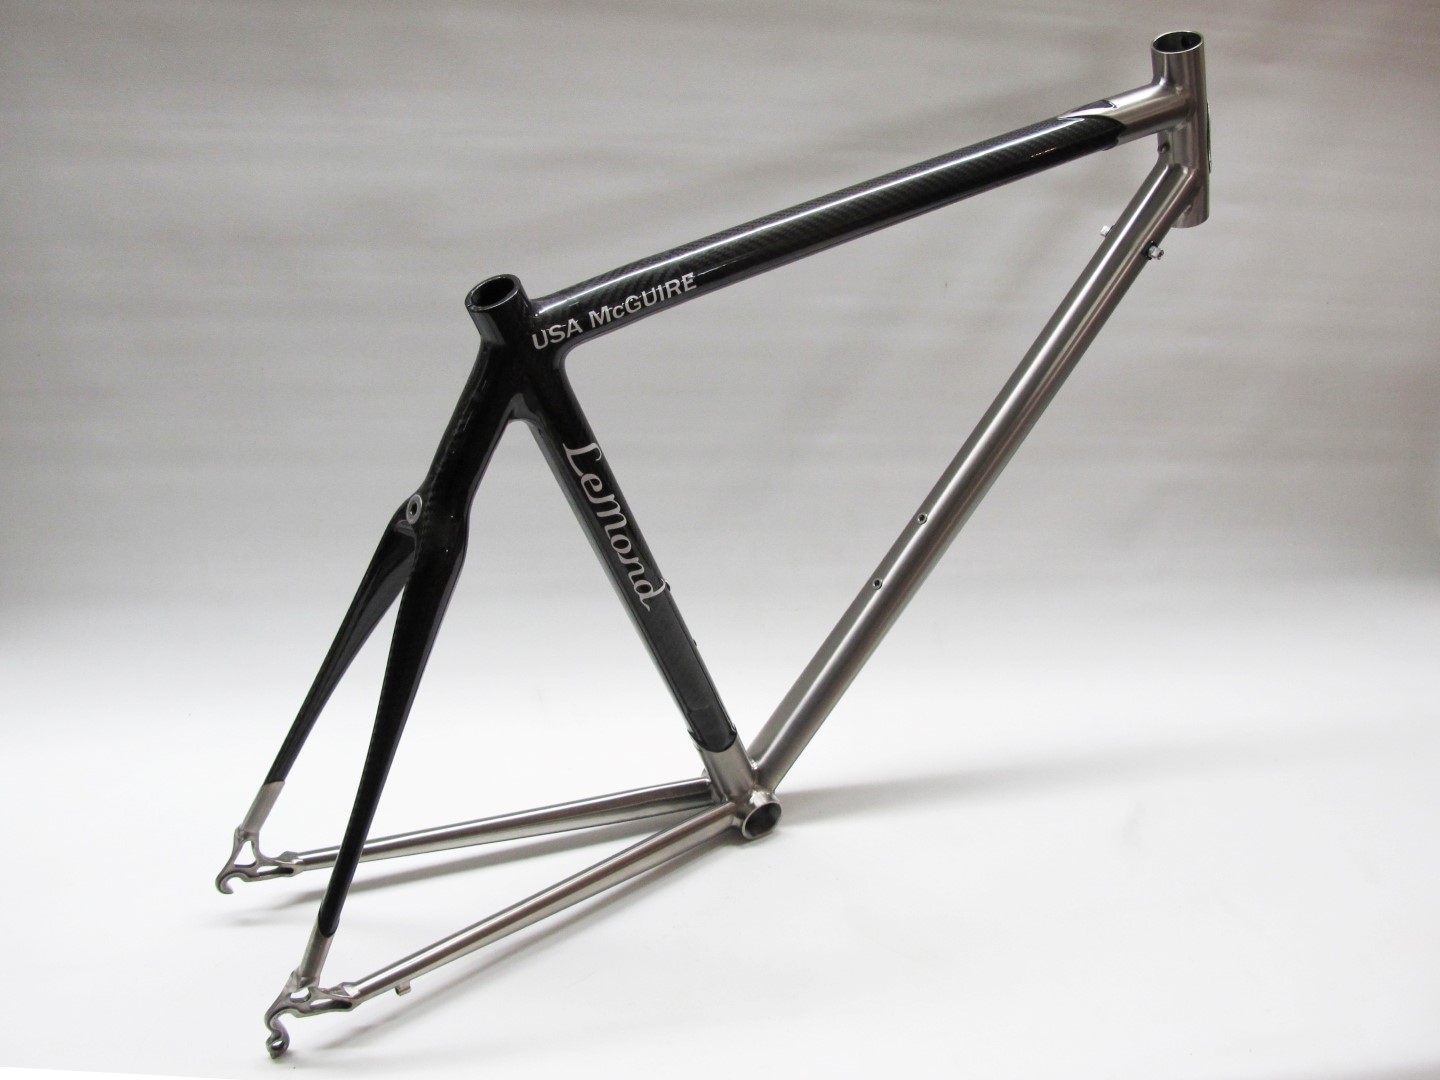
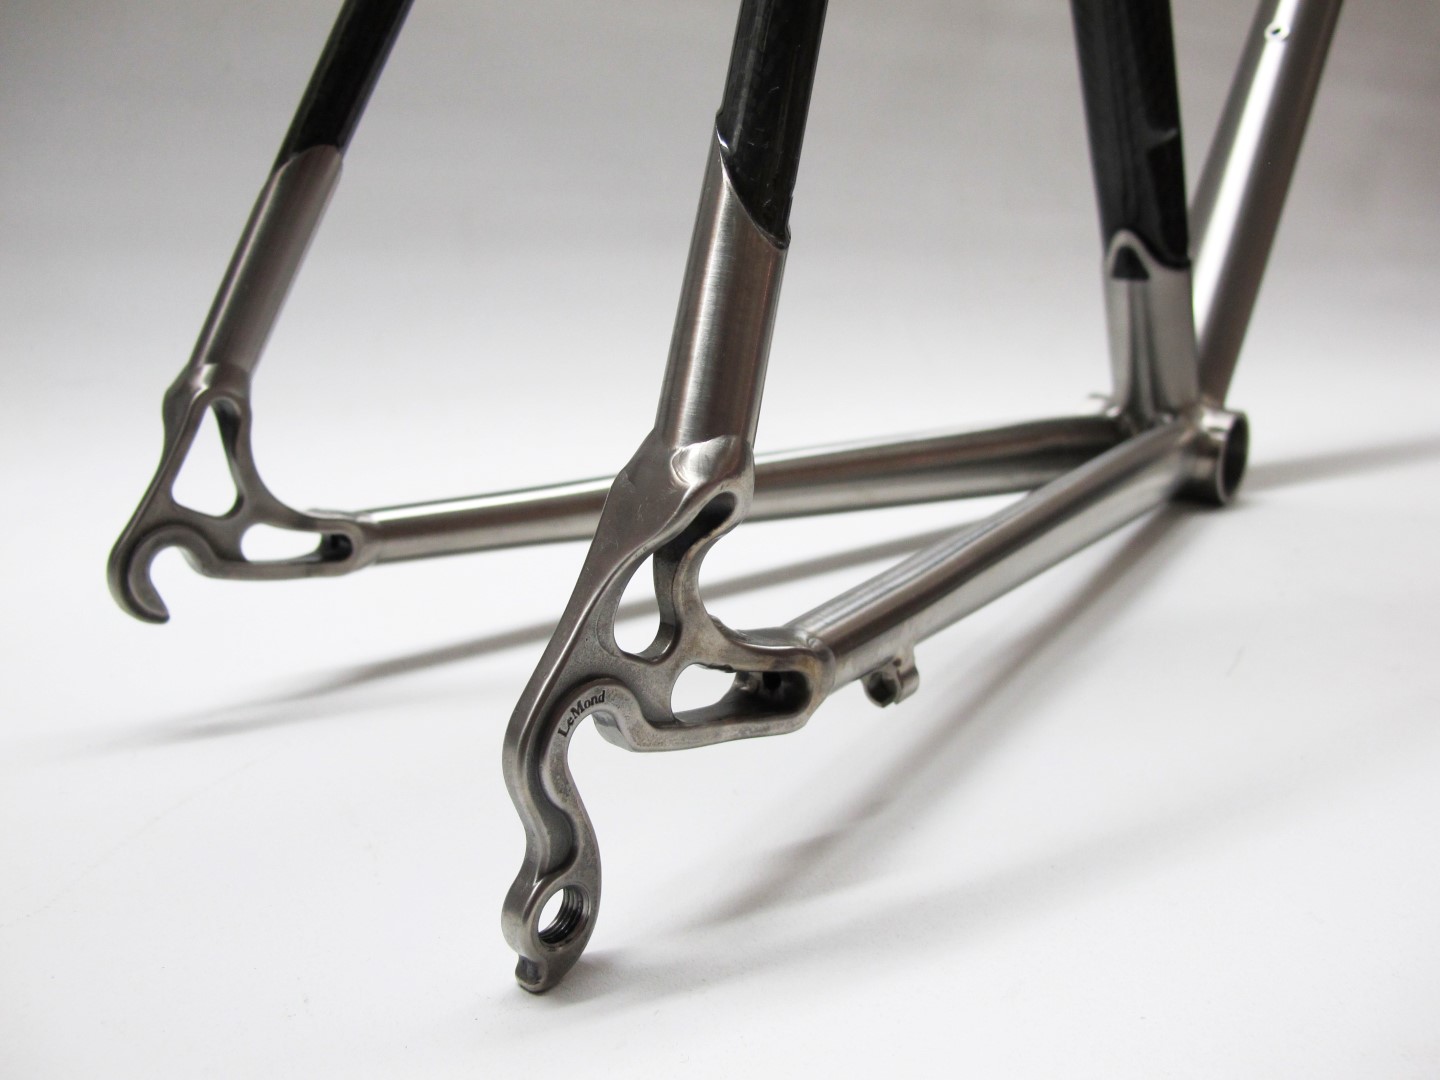
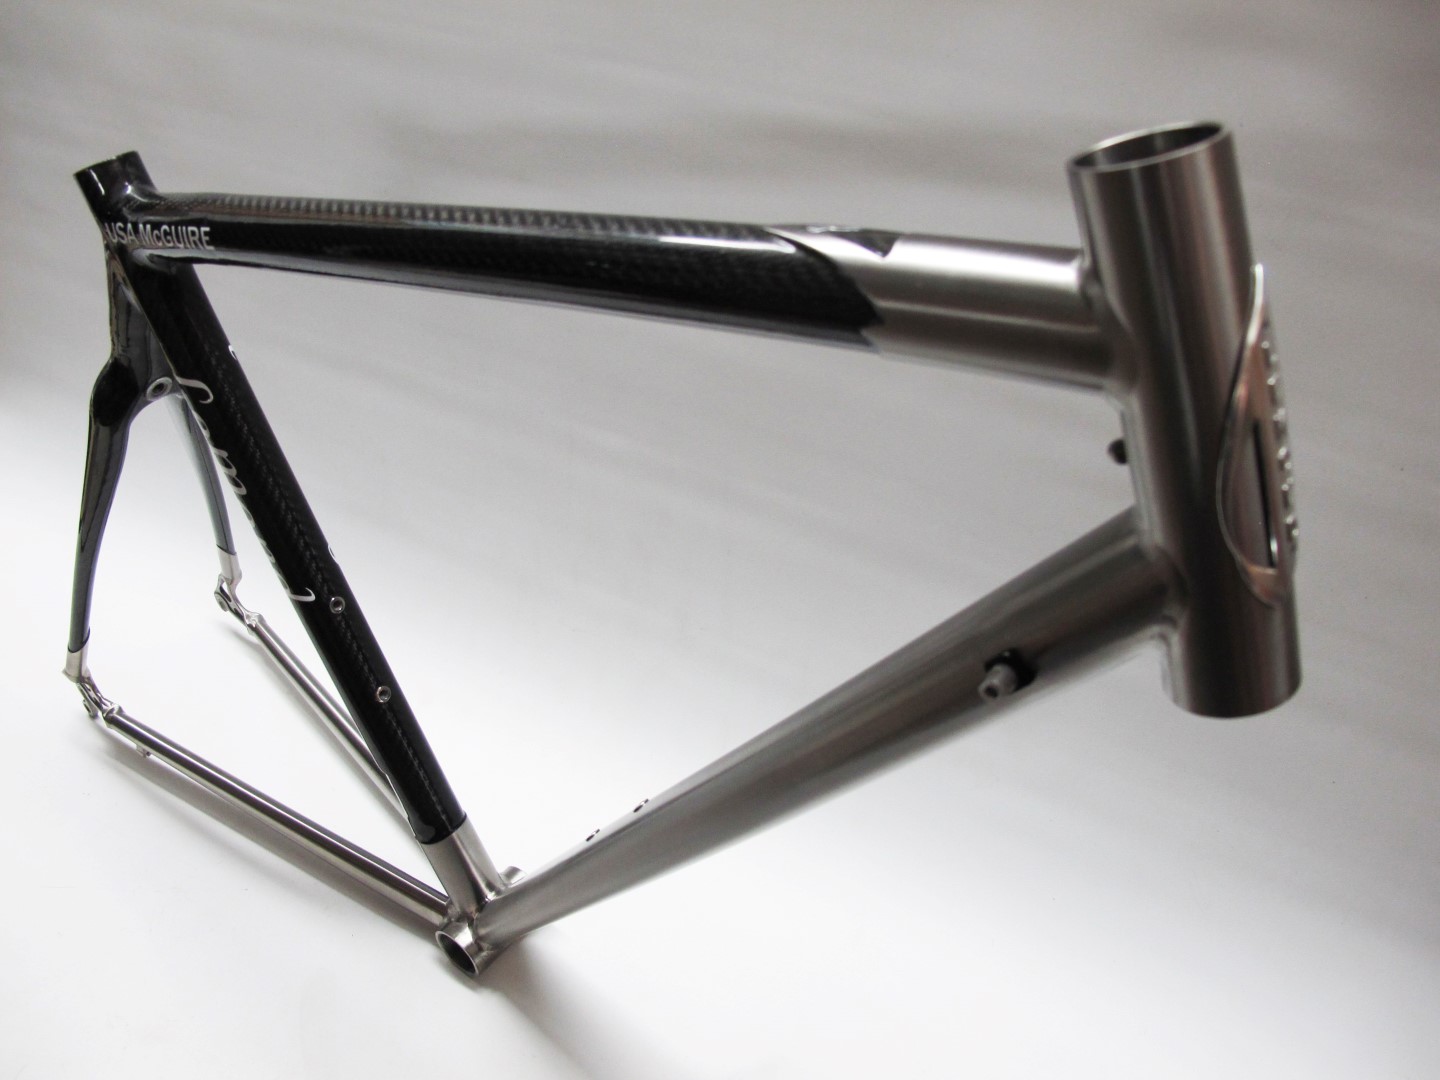
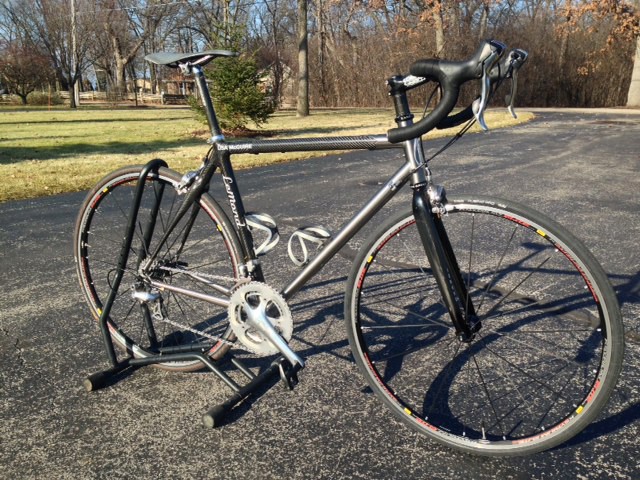
One of the more complicated frame repairs in recent memory was a composite Lemond Tete de Course, half titanium and half carbon fiber, that required a downtube replacement.

Before we could replace the titanium tube we needed to un-bond the top of the frame from the bottom. For this task we called on our friends at Ruckus Composites here in Portland, masters of the art of carbon fiber. 

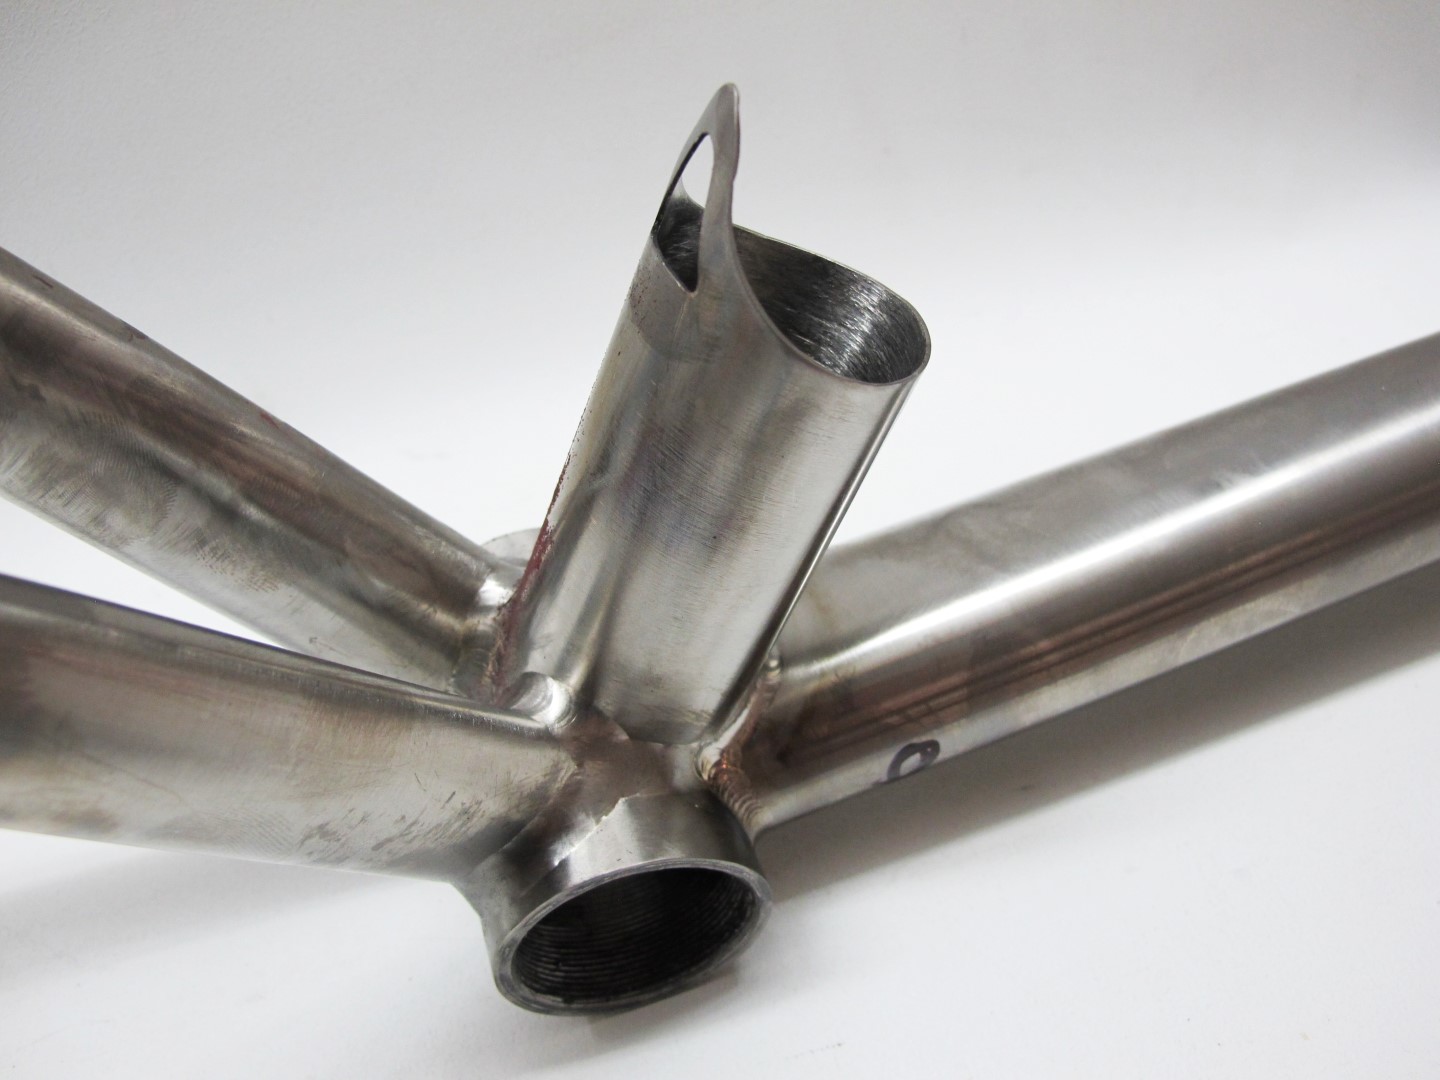
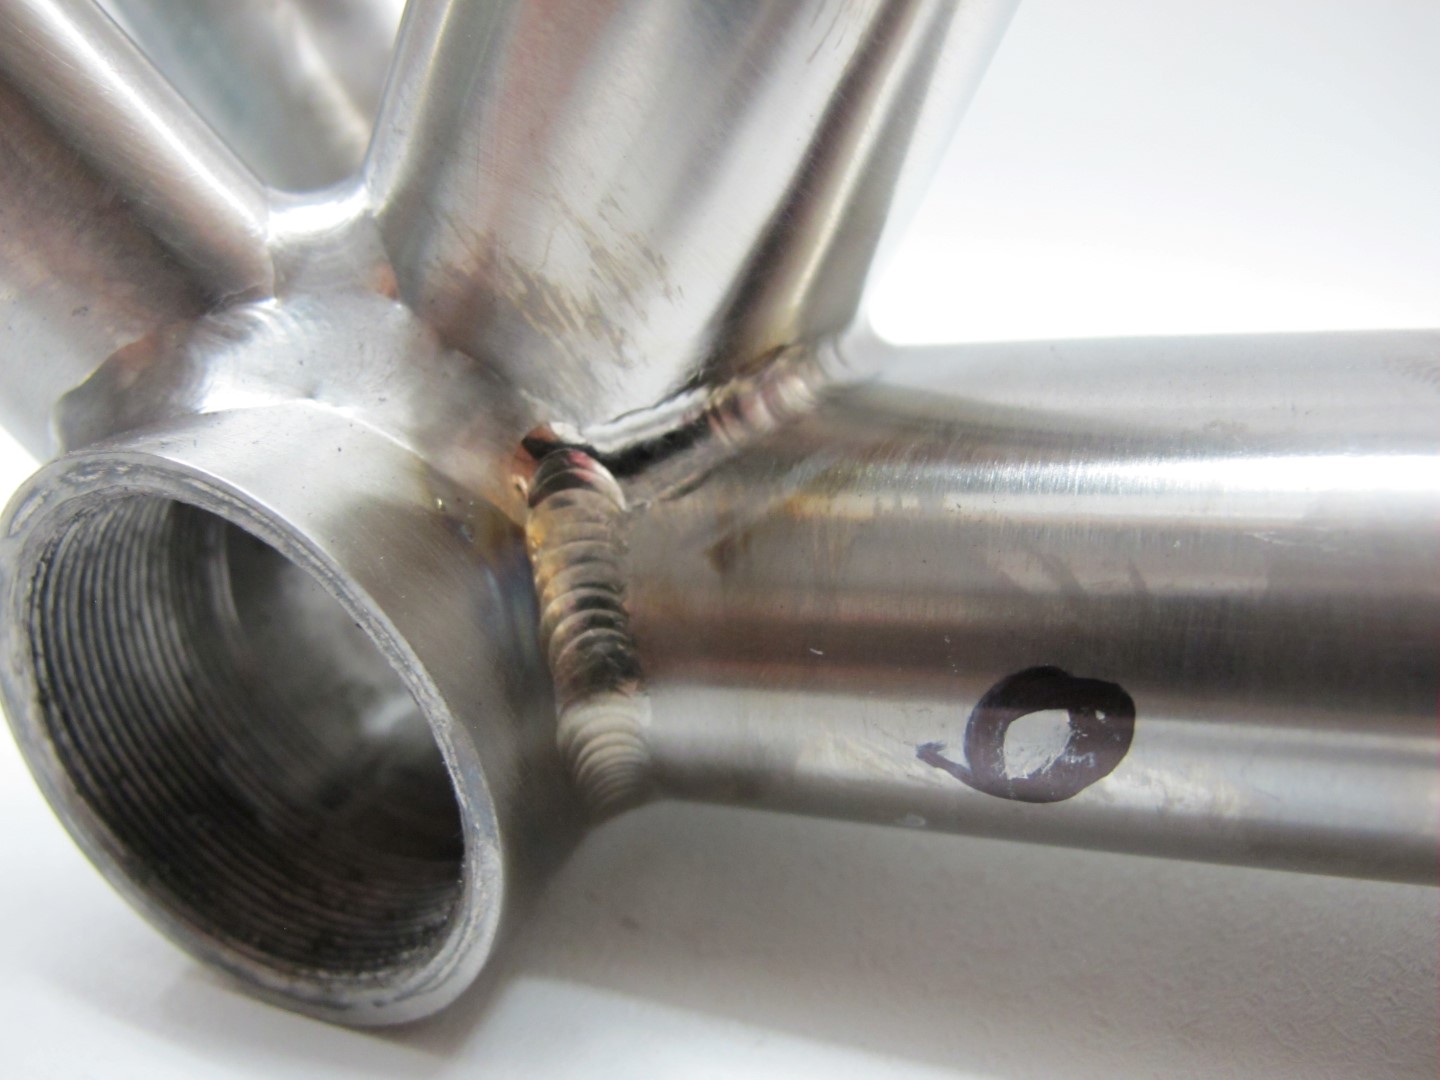
The carbon sections needed to be out of the frame, but able to be put back in to place to set up the frame jig for welding the new downtube to the original bottom bracket shell and head tube. During this process while the downtube is out of the frame the head tube is completely disconnected, as are the carbon fiber tubes, meaning the frame is almost completely disassembled. Only the chainstay welds at the dropouts and bottom bracket shell remain from the original assembly.

After the new downtube was installed the titanium sections were brushed up to a beautiful shine and transported in a box back to the Ruckus labs for the carbon fiber reassembly. Then the frame came back to us one last time for final detailing and wax anti-fingerprint sealant before heading home to its owner.

"Everyone is impressed with the work and craftsmanship of Ti Cycles, as the frame looks beautiful. Your service and final product was excellent."

Service: Titanium Derailleur Hanger Repair

Service: Titanium Derailleur Hanger Repair

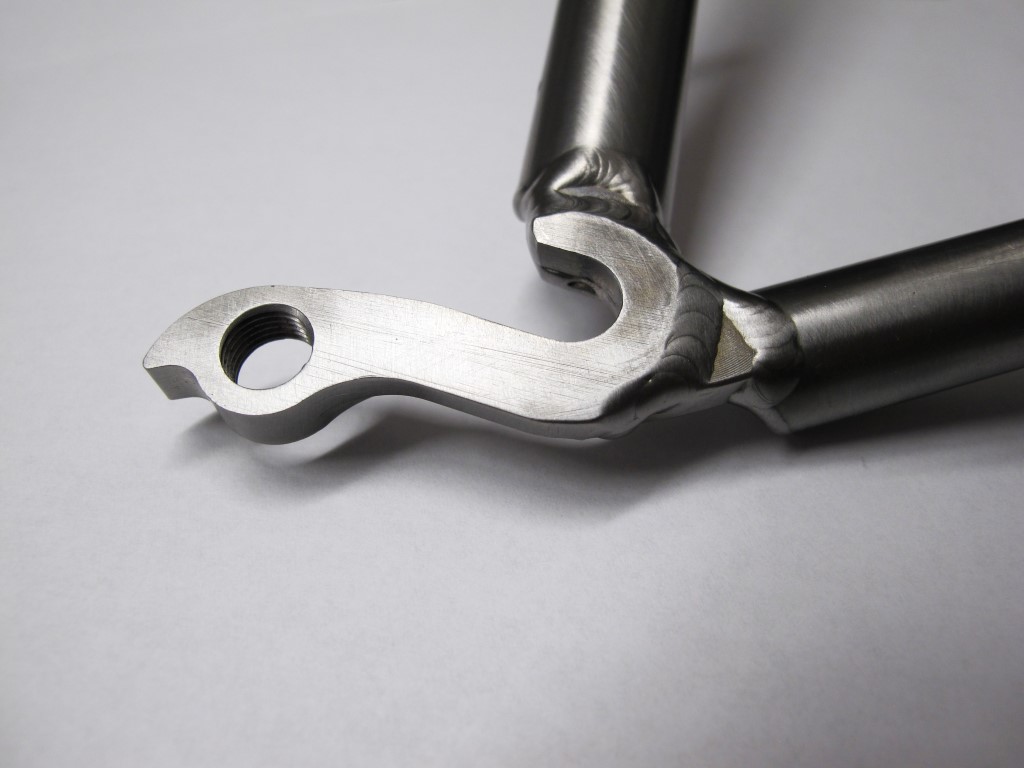
For such a small part of a frame, the little dangly derailleur hanger is involved in an inordinate number of repairs. It is a small piece of material, but it is vitally important, unfortunately located, and relatively fragile.

Most classic frames and some modern custom frames built for confident ballers have contiguous or "fixed" derailleur hangers that are part of the dropout itself. Because it is so vital and fragile, modern mass produced bikes generally have replaceable hangers that bolt on with smalls screws, allowing a failure mechanism that in most cases has no potential to ruin the entire frame. Regardless of the main frame material, these replaceable hangers are primarily aluminum or titanium.

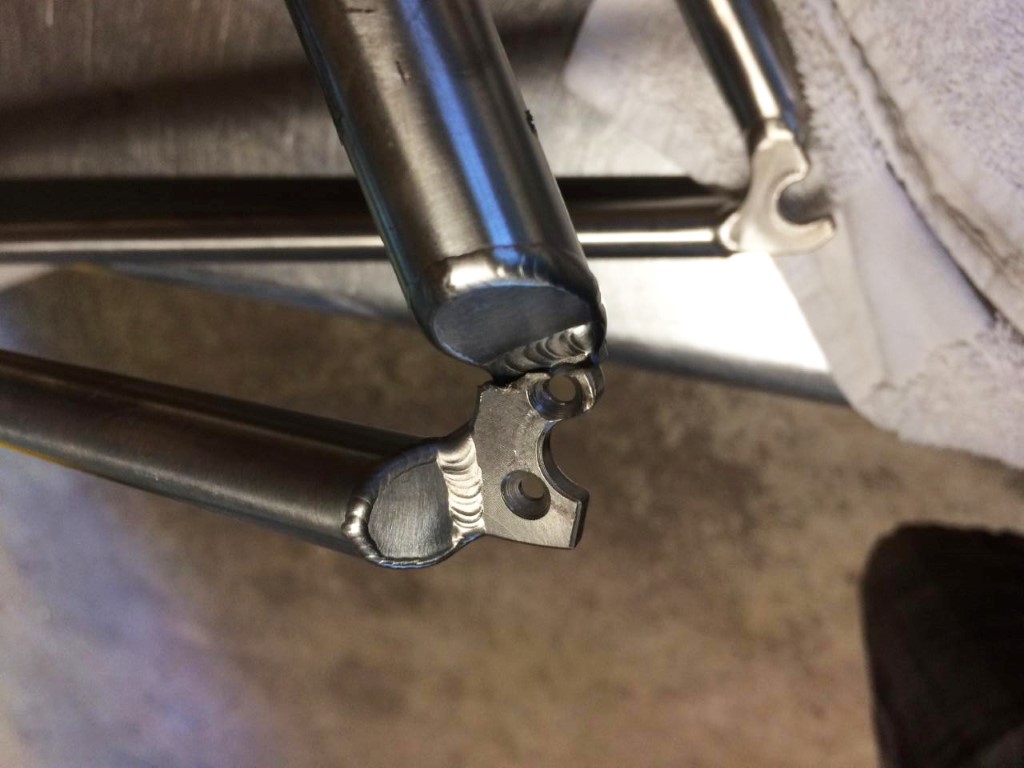
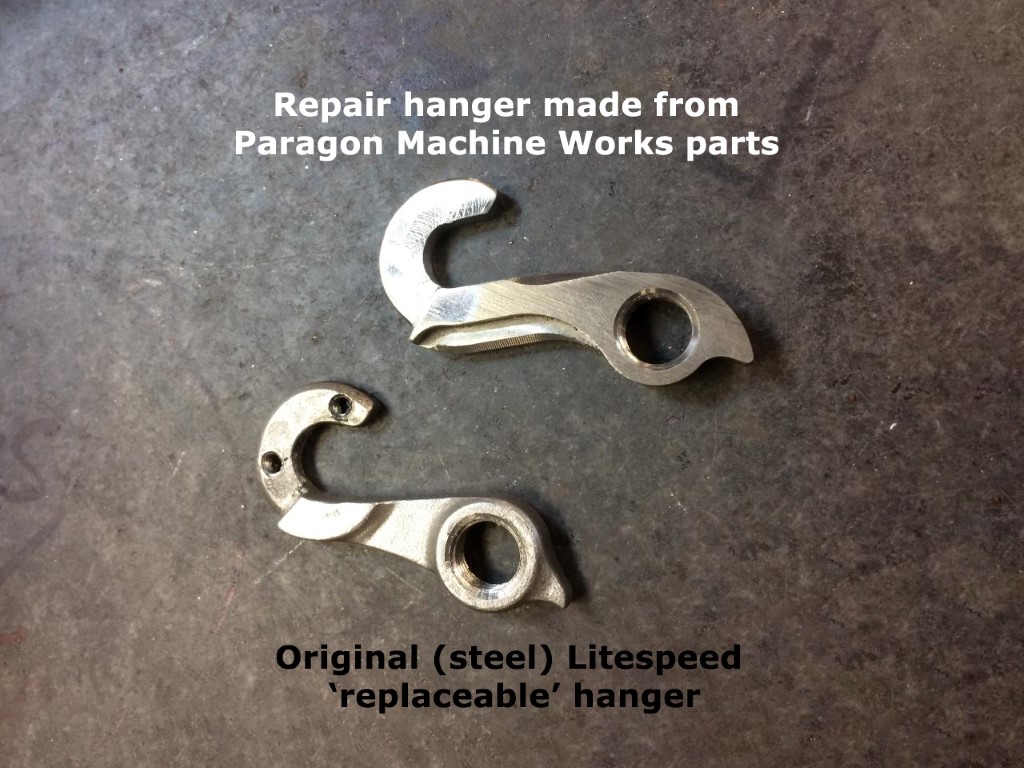
A sensible and practical design feature, replaceable hangers can still be poorly executed. Photos below show one such design; a replaceable hanger made of steel on a high end titanium frame where the mounting holes on the dropout leave precious little material around the edge and have a countersink radius that cuts right through the heat affected zone of the chainstay weld.

The latter situation resolved itself in a crack through the weld, even though the hanger was ruined at the same time of the source impact. We can easily repair the crack, but the original flaws in the design still remain and would surely cause the same result in another crash.

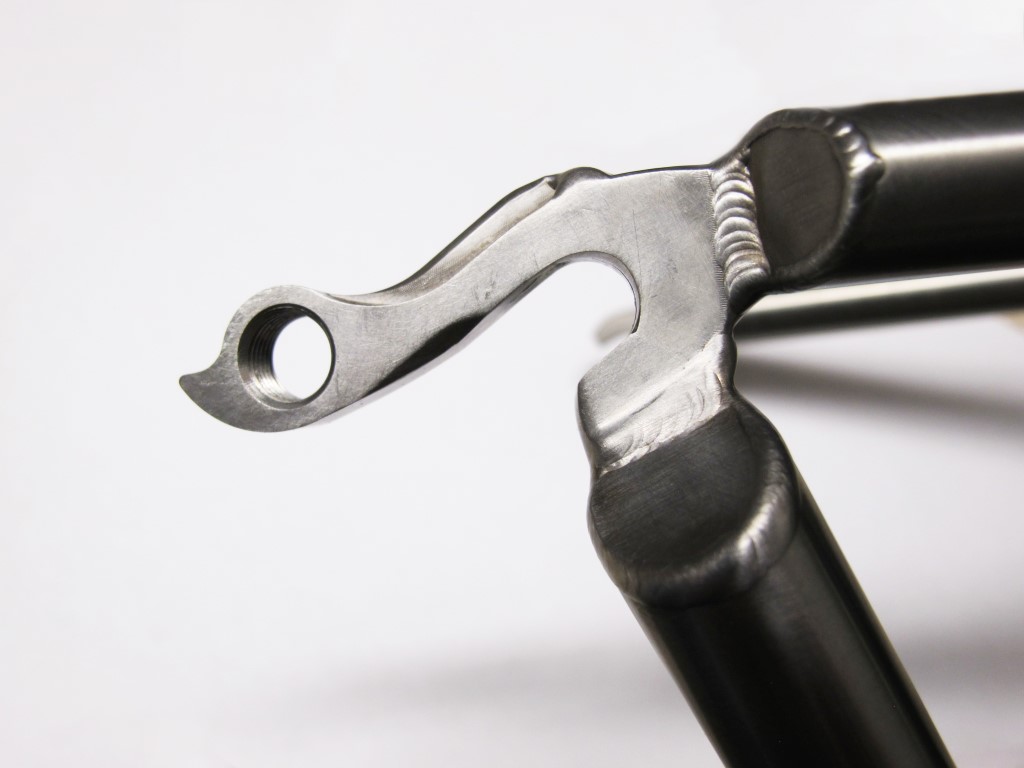
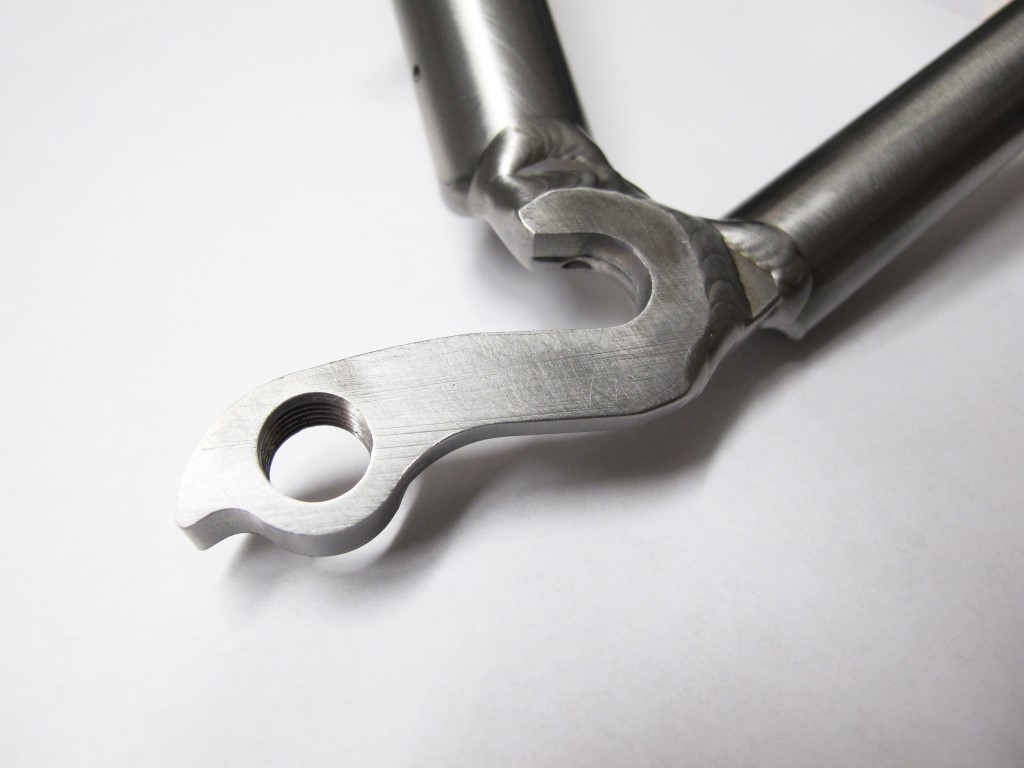
As a solution Dave fabricated a new titanium hanger to match the interface and location of the original, and then welded it all together into a solid hanger far stronger than the original. 

Service: YBB

Service: YBB

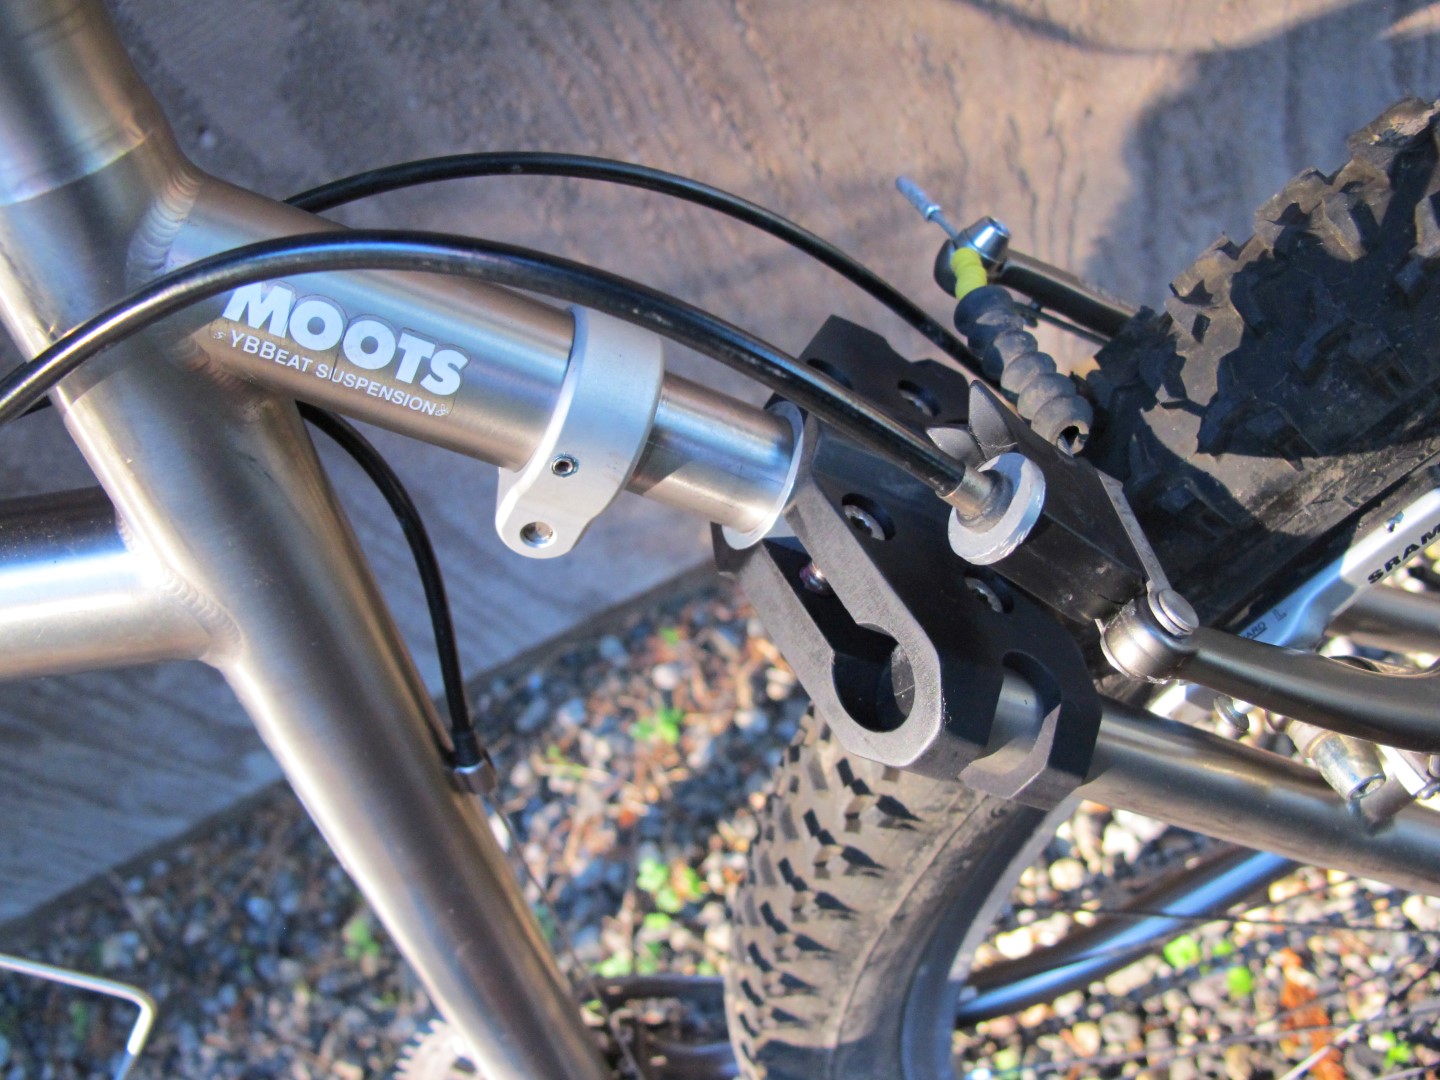
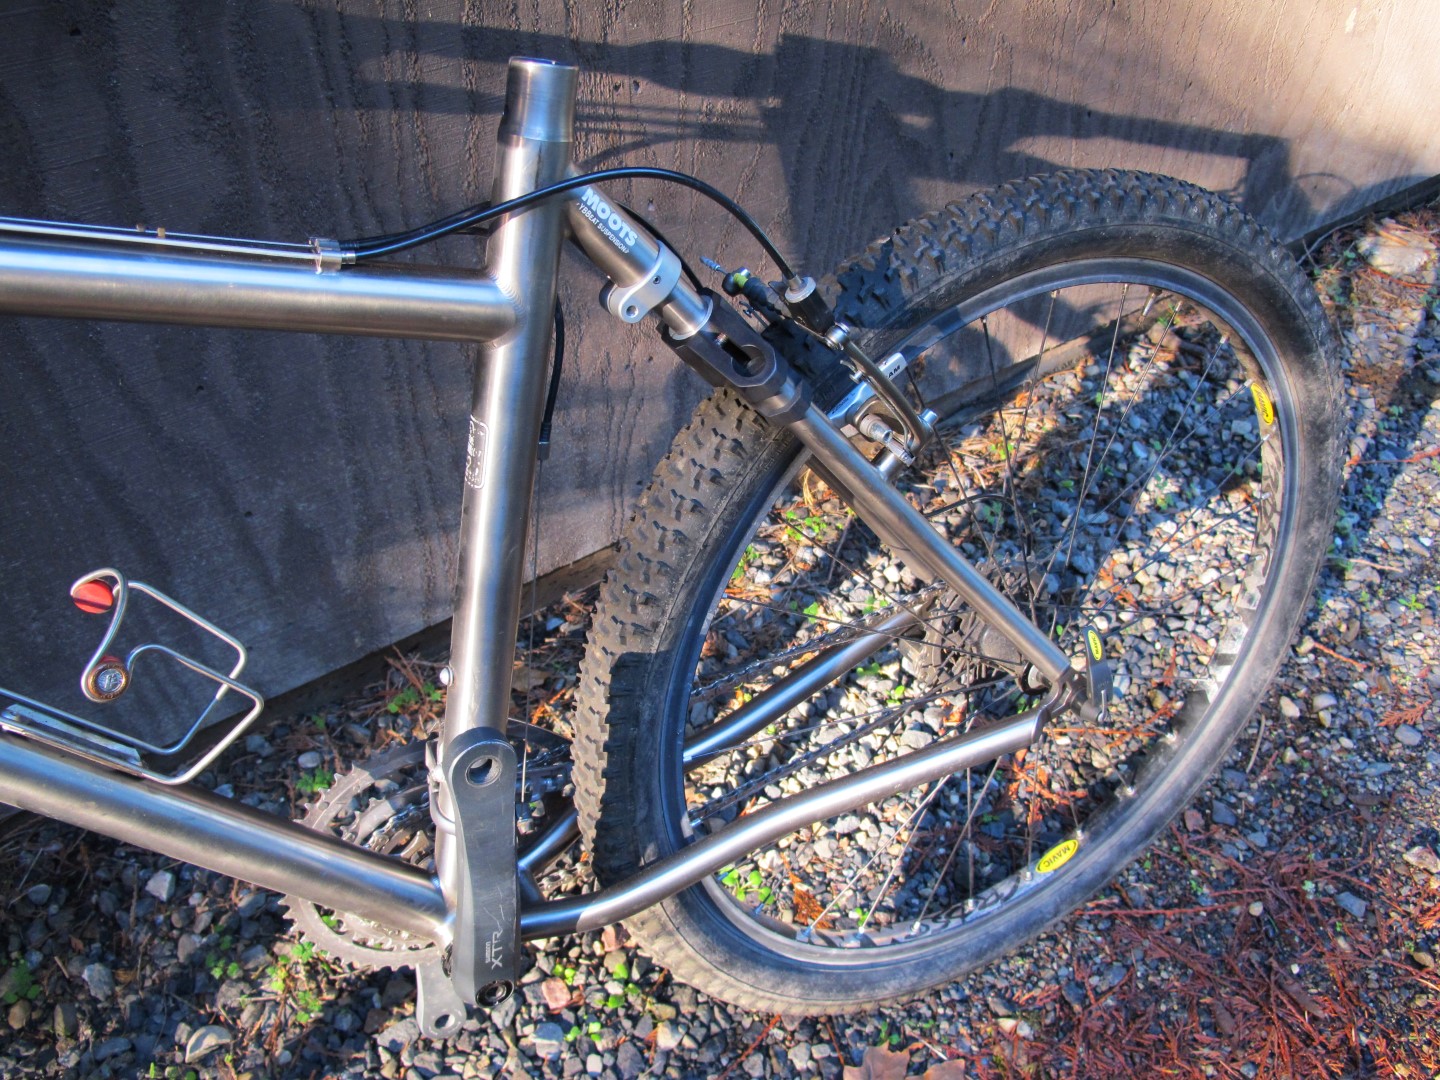
The Moots YBB system, still in use today, came to prominence two decades ago and saw widespread use by several prominent titanium mountain bike builders. The system is simple, using a monostay configuration with a spring and/or elastomer stanchion up top and vertically compliant chainstays down low to allow for vertical movement of the rear axle. At a time when full suspension designs were often large, complex, heavy, and largely ineffective, a YBB "soft tail" could smooth much of the chatter of XC trails with relatively little fuss. 

With the breakneck pace of modern suspension improvements the YBB soft tail system may seem rudimentary, but it has proven extremely durable and reliable over the years and is an integral part of many great vintage mountain bikes, most of which are still on the trails.

But all things wear out in time, and we have regularly been servicing YBB systems on Moots, Merlin, Litespeed, and other titanium bikes for many years. Generally this consists of cleaning and lubricating the parts still fit for service, or machining a new stanchion, and in the case of Litespeed modifying the Moots YBB guts that are still available to fit in the smaller diameter setup.

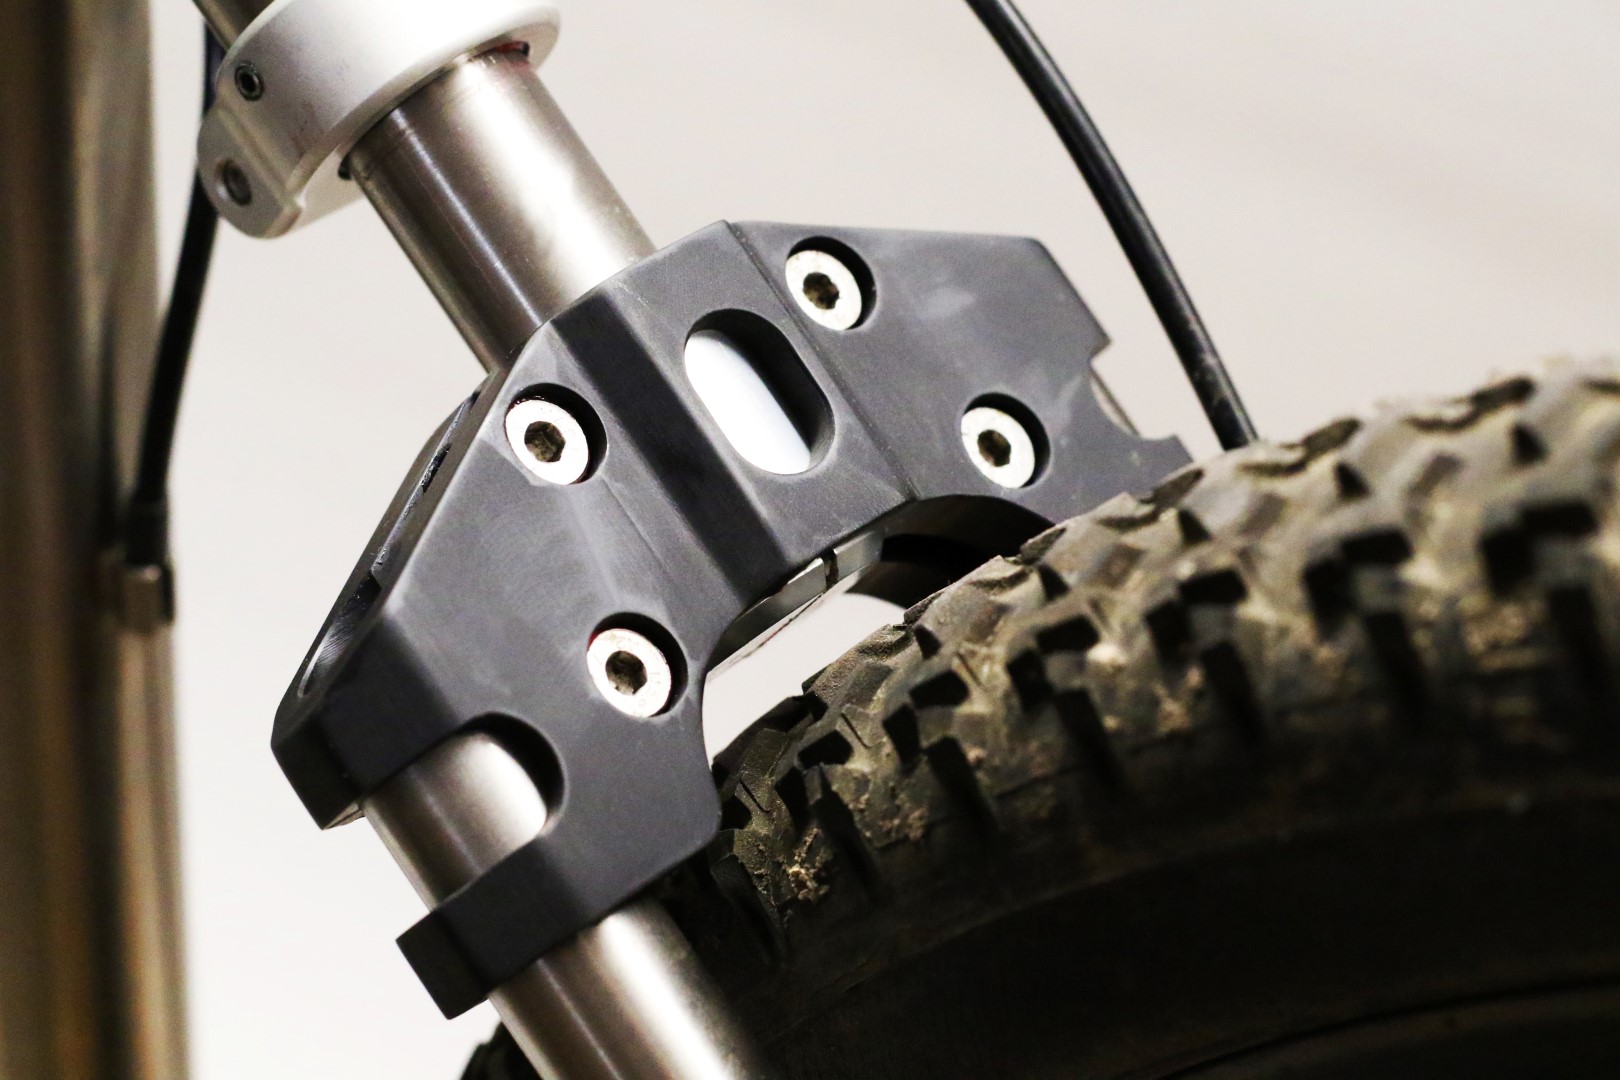
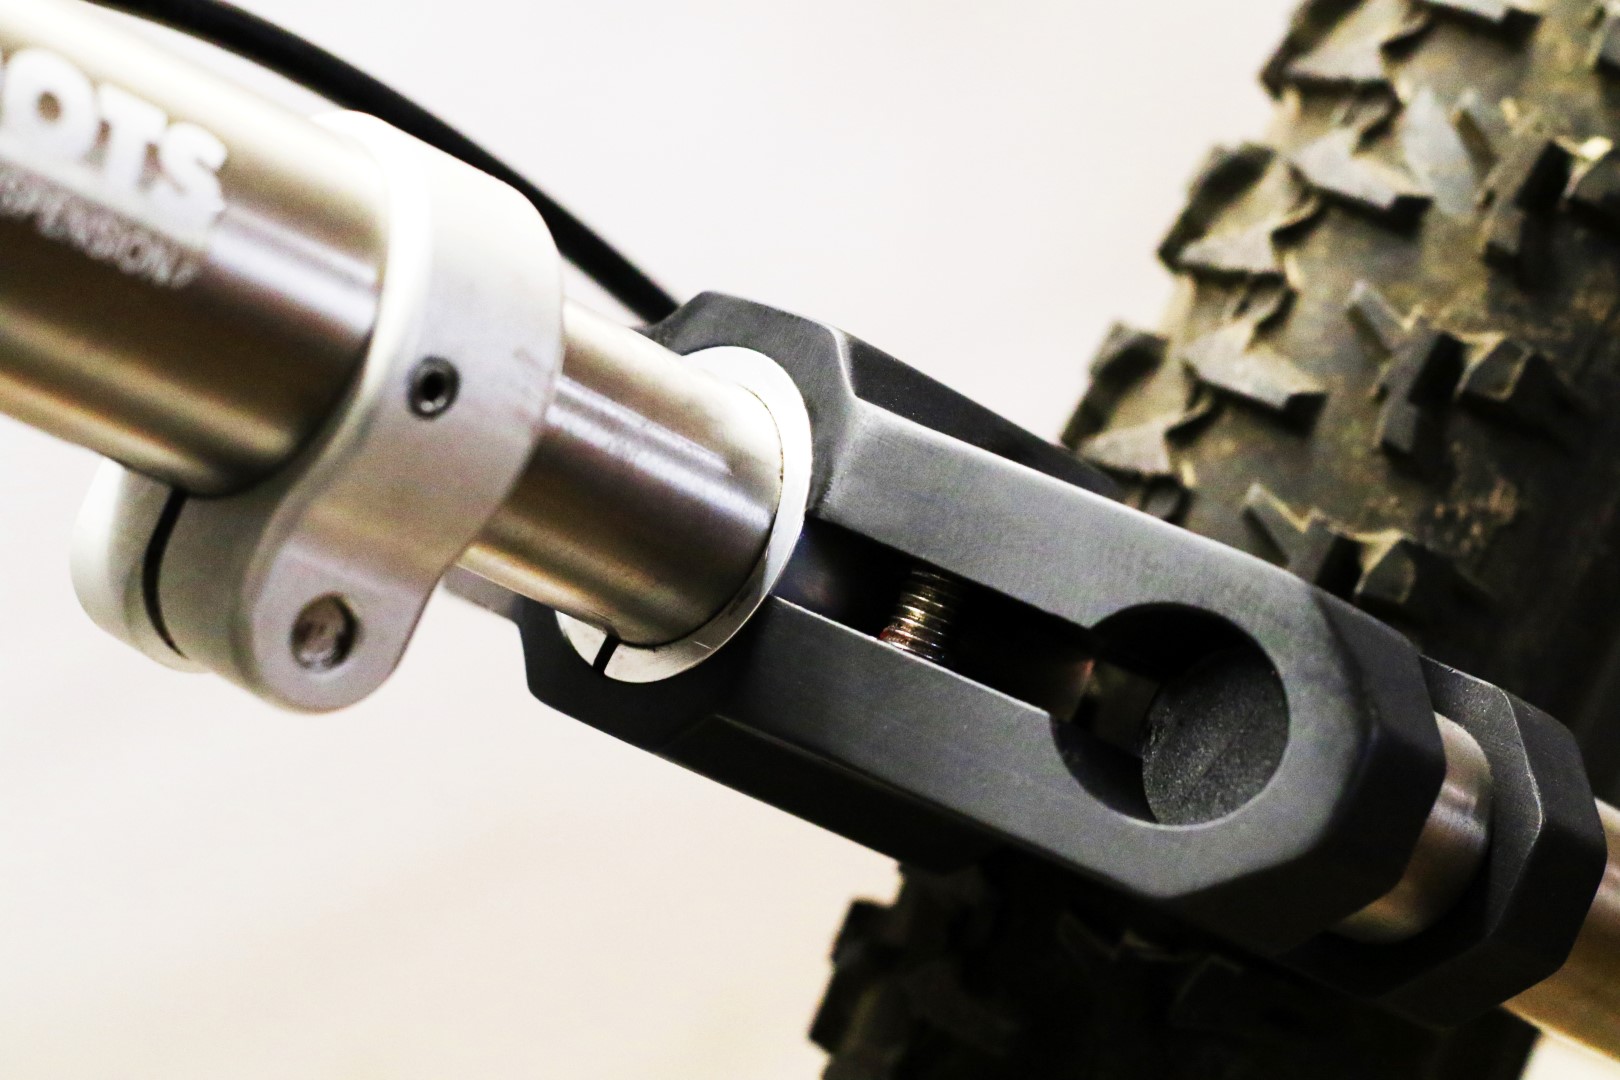
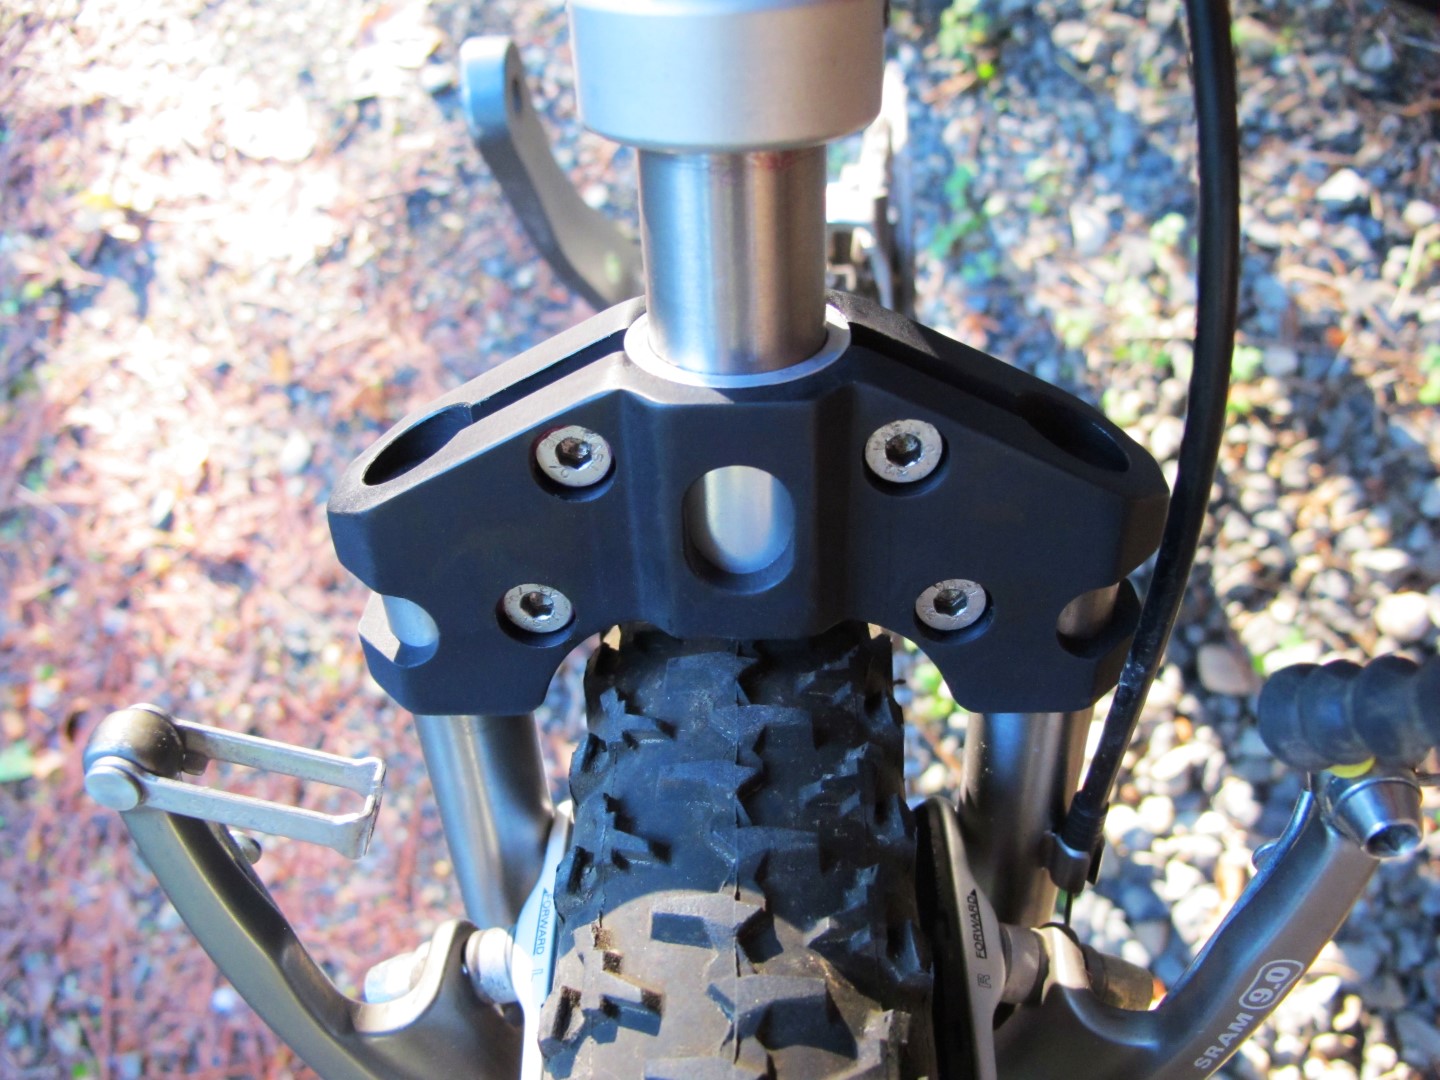
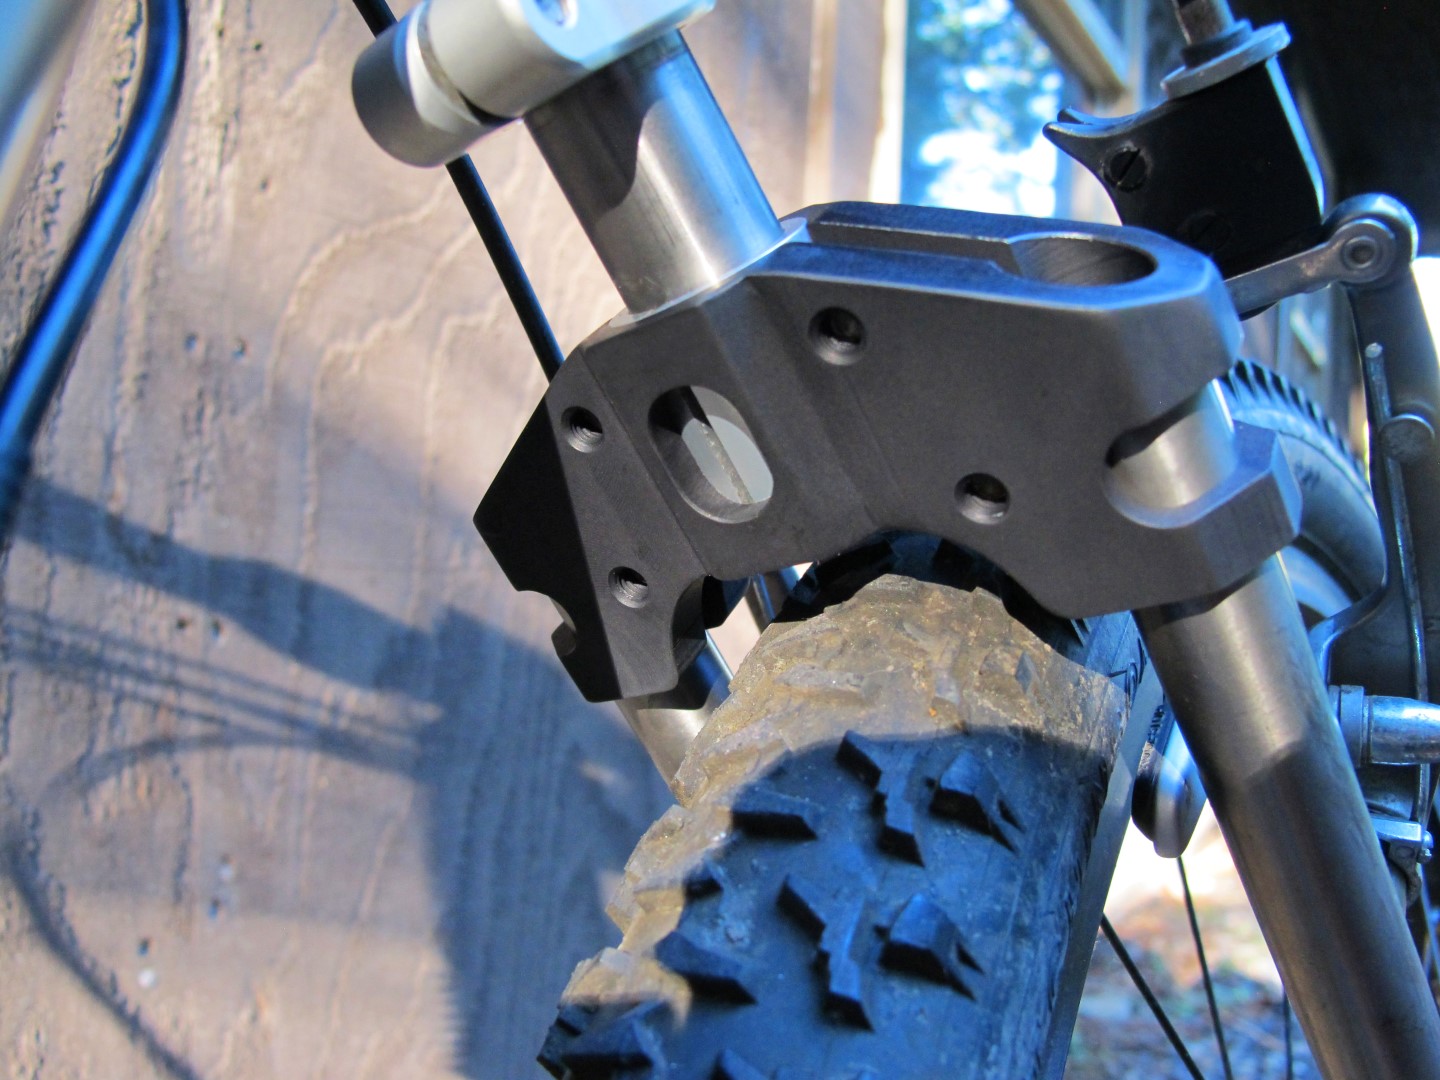
A recent Merlin project presented a different challenge; not only did the YBB guts need serviced, the aluminum bridge clamping mechanism connecting the suspension with the rear end had cracked, requiring the machining of a whole new yoke.

As far as we know this is the only Merlin Fat Beat on the planet with a black yoke, made entirely in house.

Service: Cinelli Quill Stem Update

Service: Cinelli Quill Stem Update

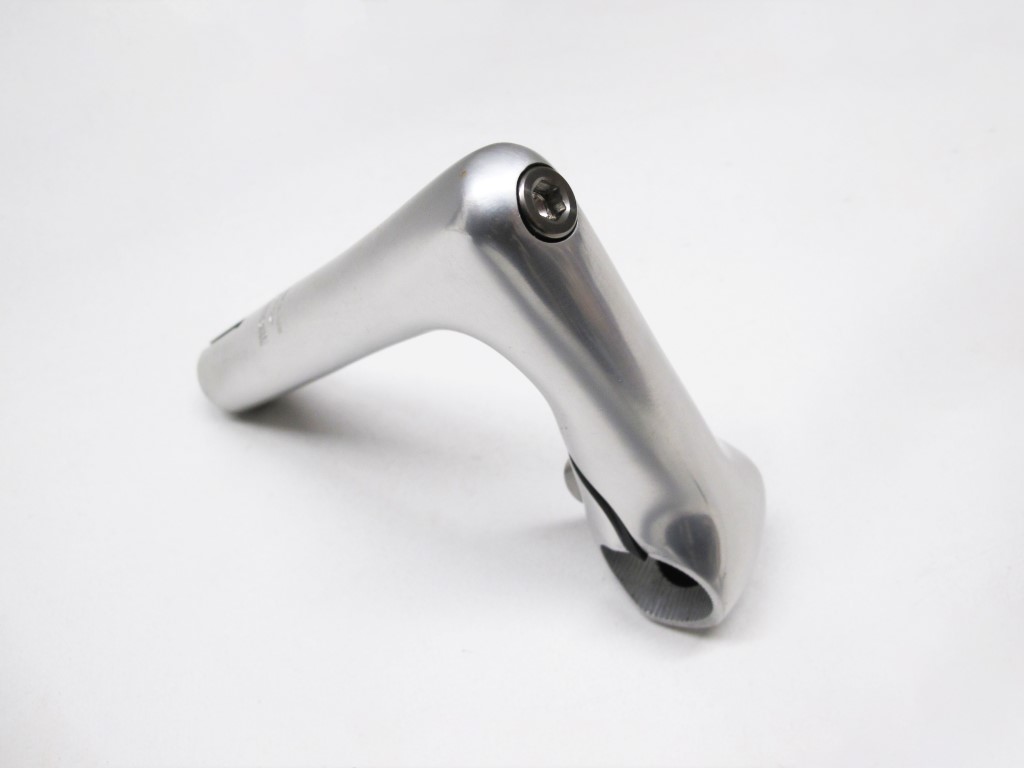
Cinelli quill stems are part of cycling history. There are thousands upon thousands of them in circulation on vintage bikes of all types with threaded fork steerers. They're a great part, save for one weird little bit -- the stock Cinelli quill stem bolts use a 7mm hex key and have a 7mm x 1mm thread draw bolt with a tapered nut.

This 7mm business is problematic for a couple of reasons. Virtually no multi tool or standard hex tool set includes a 7mm wrench. There are no draw bolts with 6mm hex fittings and 7x1 thread. Standard 8mm draw bolts have both a different thread size and a head diameter that is too large for the 12mm pocket in most vintage stem bodies.

We of course partially solved this issue with our M8 stainless steel and M8 titanium draw bolts, which have an optional aluminum wedge we machine in house as an upgrade to the clunky cast steel wedges found in many traditional quills. Those bolts both have a 12mm OD head that will fit in the Cinelli stem body, but the M8 threading is incompatible with the Cinelli cone nut and our wedges will not work with the tapered nut system.

To cut through all of these contradictions at once and do the world a favor by slowly removing the oddball 7mm bolts and cones from circulation we are now offering a fantastic update service to make this style of Cinelli quill stem compatible with standard 8mm draw bolts.

You send in your stem, we change the thread size on both the cone anchoring the quill draw bolt and the single pinch bolt handlebar clamp to 8mm and provide 8mm titanium bolts with normal 6mm hex fittings for both locations. 

Yep, you can have a Cinelli quill stem that is both lighter and more convenient!
We are here to help.

Service: Serotta Dropout Repair

Service: Serotta Dropout Repair

After building a fantastic titanium bike for a new customer, keeping an older one on the road is the next best thing. Our repair services bring us much joy, and of course our customers are pretty pleased as well!

Most of the frame failures we see on frames manufactured by other builders fit into predictable categories. One of those is "the Serotta crack" on the beautiful windowed dropouts found on Ottrott, Legend Ti, and other frames, which in turn is often linked to improper maintenance of the seat stay bearing those dropouts are used in conjunction with.

If your Serotta frame with this dropout design has not cracked but your bearings have never been serviced, now is the time for some preemptive maintenance. Please get in touch to make arrangements for sending in your frame for bearing service. (Because of the bearing location being in such close proximity to a crucial carbon/titanium bond joint we strongly discourage anyone not familiar with this particular construction from attempting to service the bearings.)

If your Serotta frame with this dropout design has cracked don't fret, we can bring it back to life!

We have done a number of these repairs and have great success. Our current pricing is ~$375 for the full repair service, including the dropout repair and bearing replacement. Bearing service only generally runs ~$125 including parts and labor. You can read more about it on the Serotta Dropout Service page.